Showing posts with label crafty. Show all posts

Monday, July 25, 2016

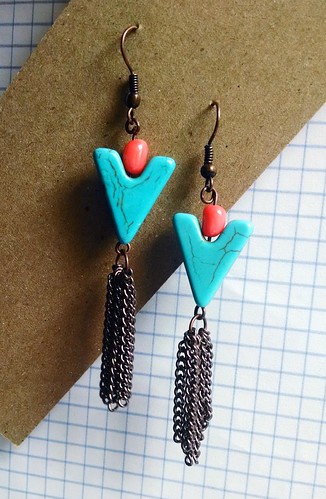
chain tassle earrings

Sometimes you just need to make something. And sometimes you get lucky and find some odds and ends lying around that work together perfectly. I made these earrings from supplies I had left over from other projects. So I'm happy, and my husband is happy. (He never says anything but he always gets this look in his eyes when I head for the craft store. It's like a "oh boy how much is this going to cost and how long is my wife going to be gone?" kinda look. You know? It makes me happy to keep his blood pressure down.
DIY earrings

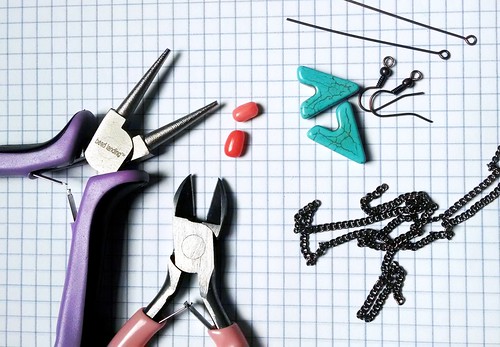
So after many other projects and trips to the craft store (with many aforementioned looks from hubby)  I already had all this stuff: a couple cute beads, a length of chain, earring hooks, wired loops, and a couple jump rings. If I had bought all the supplies new I doubt Josh would have even noticed, the bill is so small when you use a coupon or two! And I will confide in you that at no point in my life so far have I regretted my small investment in needle-nose pliers and wire cutters. Seriously. I'm surprised at how often they get used. 
DIY earrings supplies

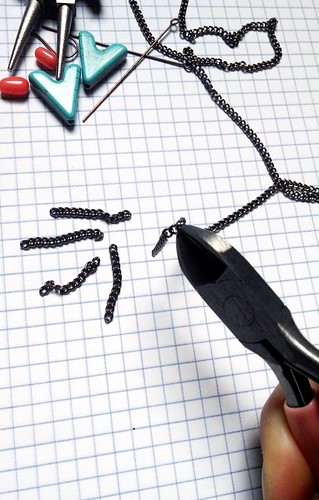
Just cut a few pieces of the chain into the same length...

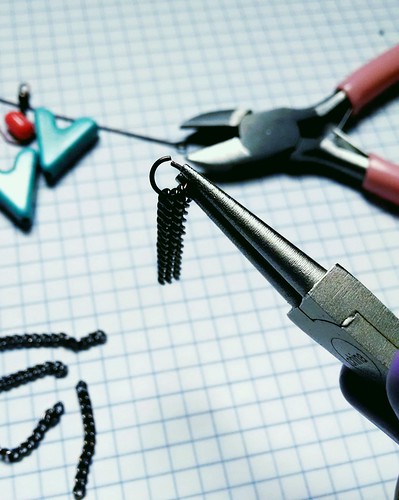
and add those to a jump ring. Tip: don't pull the ring apart, twist it open so it keeps it's circular shape.

Add the chain to the end and layer your beads together. I found these cool turquoise beads but anything you like will work. 

Finish them off by using your needle-nose piers to create a loop on the other end. This takes a little practice to get perfect but nobody will notice in the meantime (I say that with confidence because nobody ever seems to notice my very lopsided loops). Then just add the earring hook and you're done! I was almost disappointed at how little time these took. But I suppose there is something to be said for a little instant (or almost instant) gratification. You could whip these babies up as a quick gift or create a pair to match your new shoes, and then of course send me photos because I would love to see!

Monday, June 9, 2014

tv stand


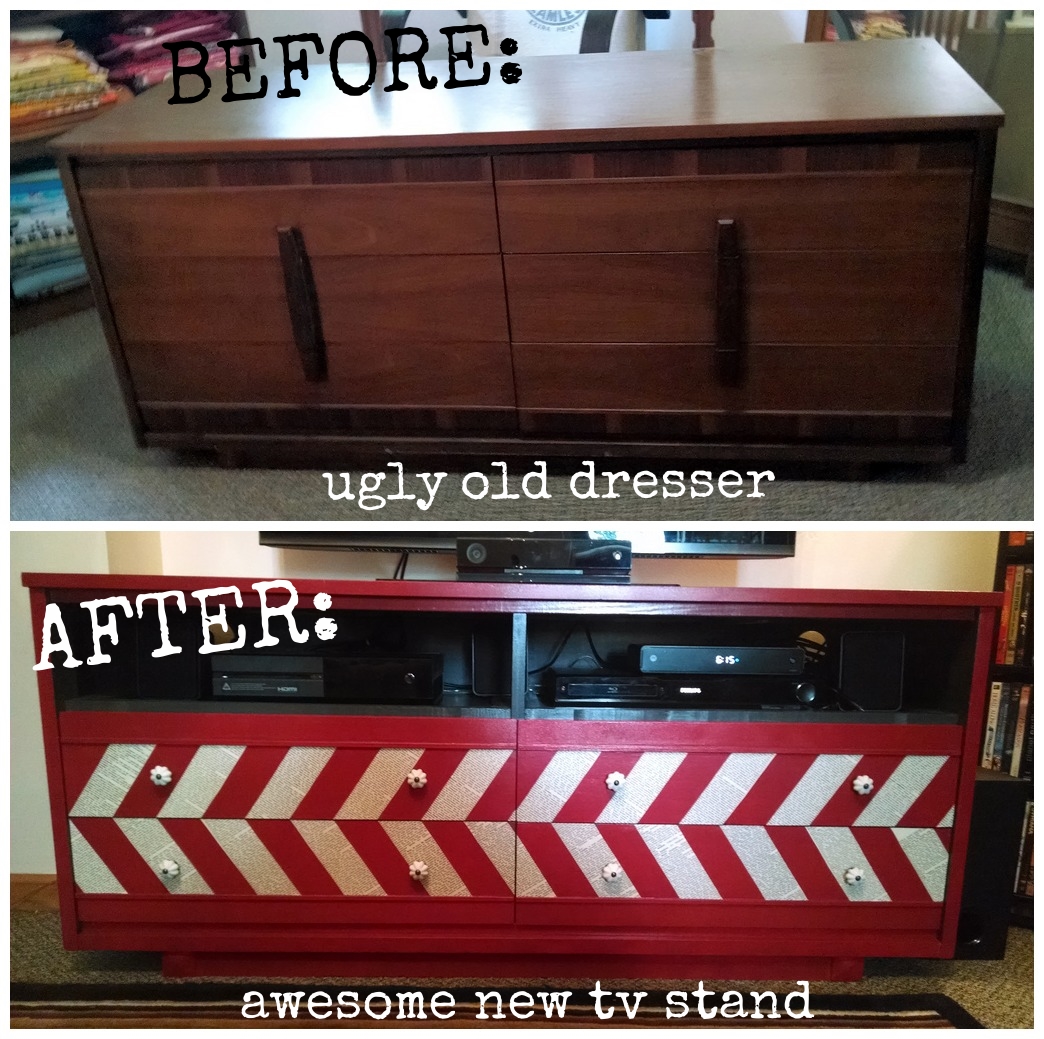
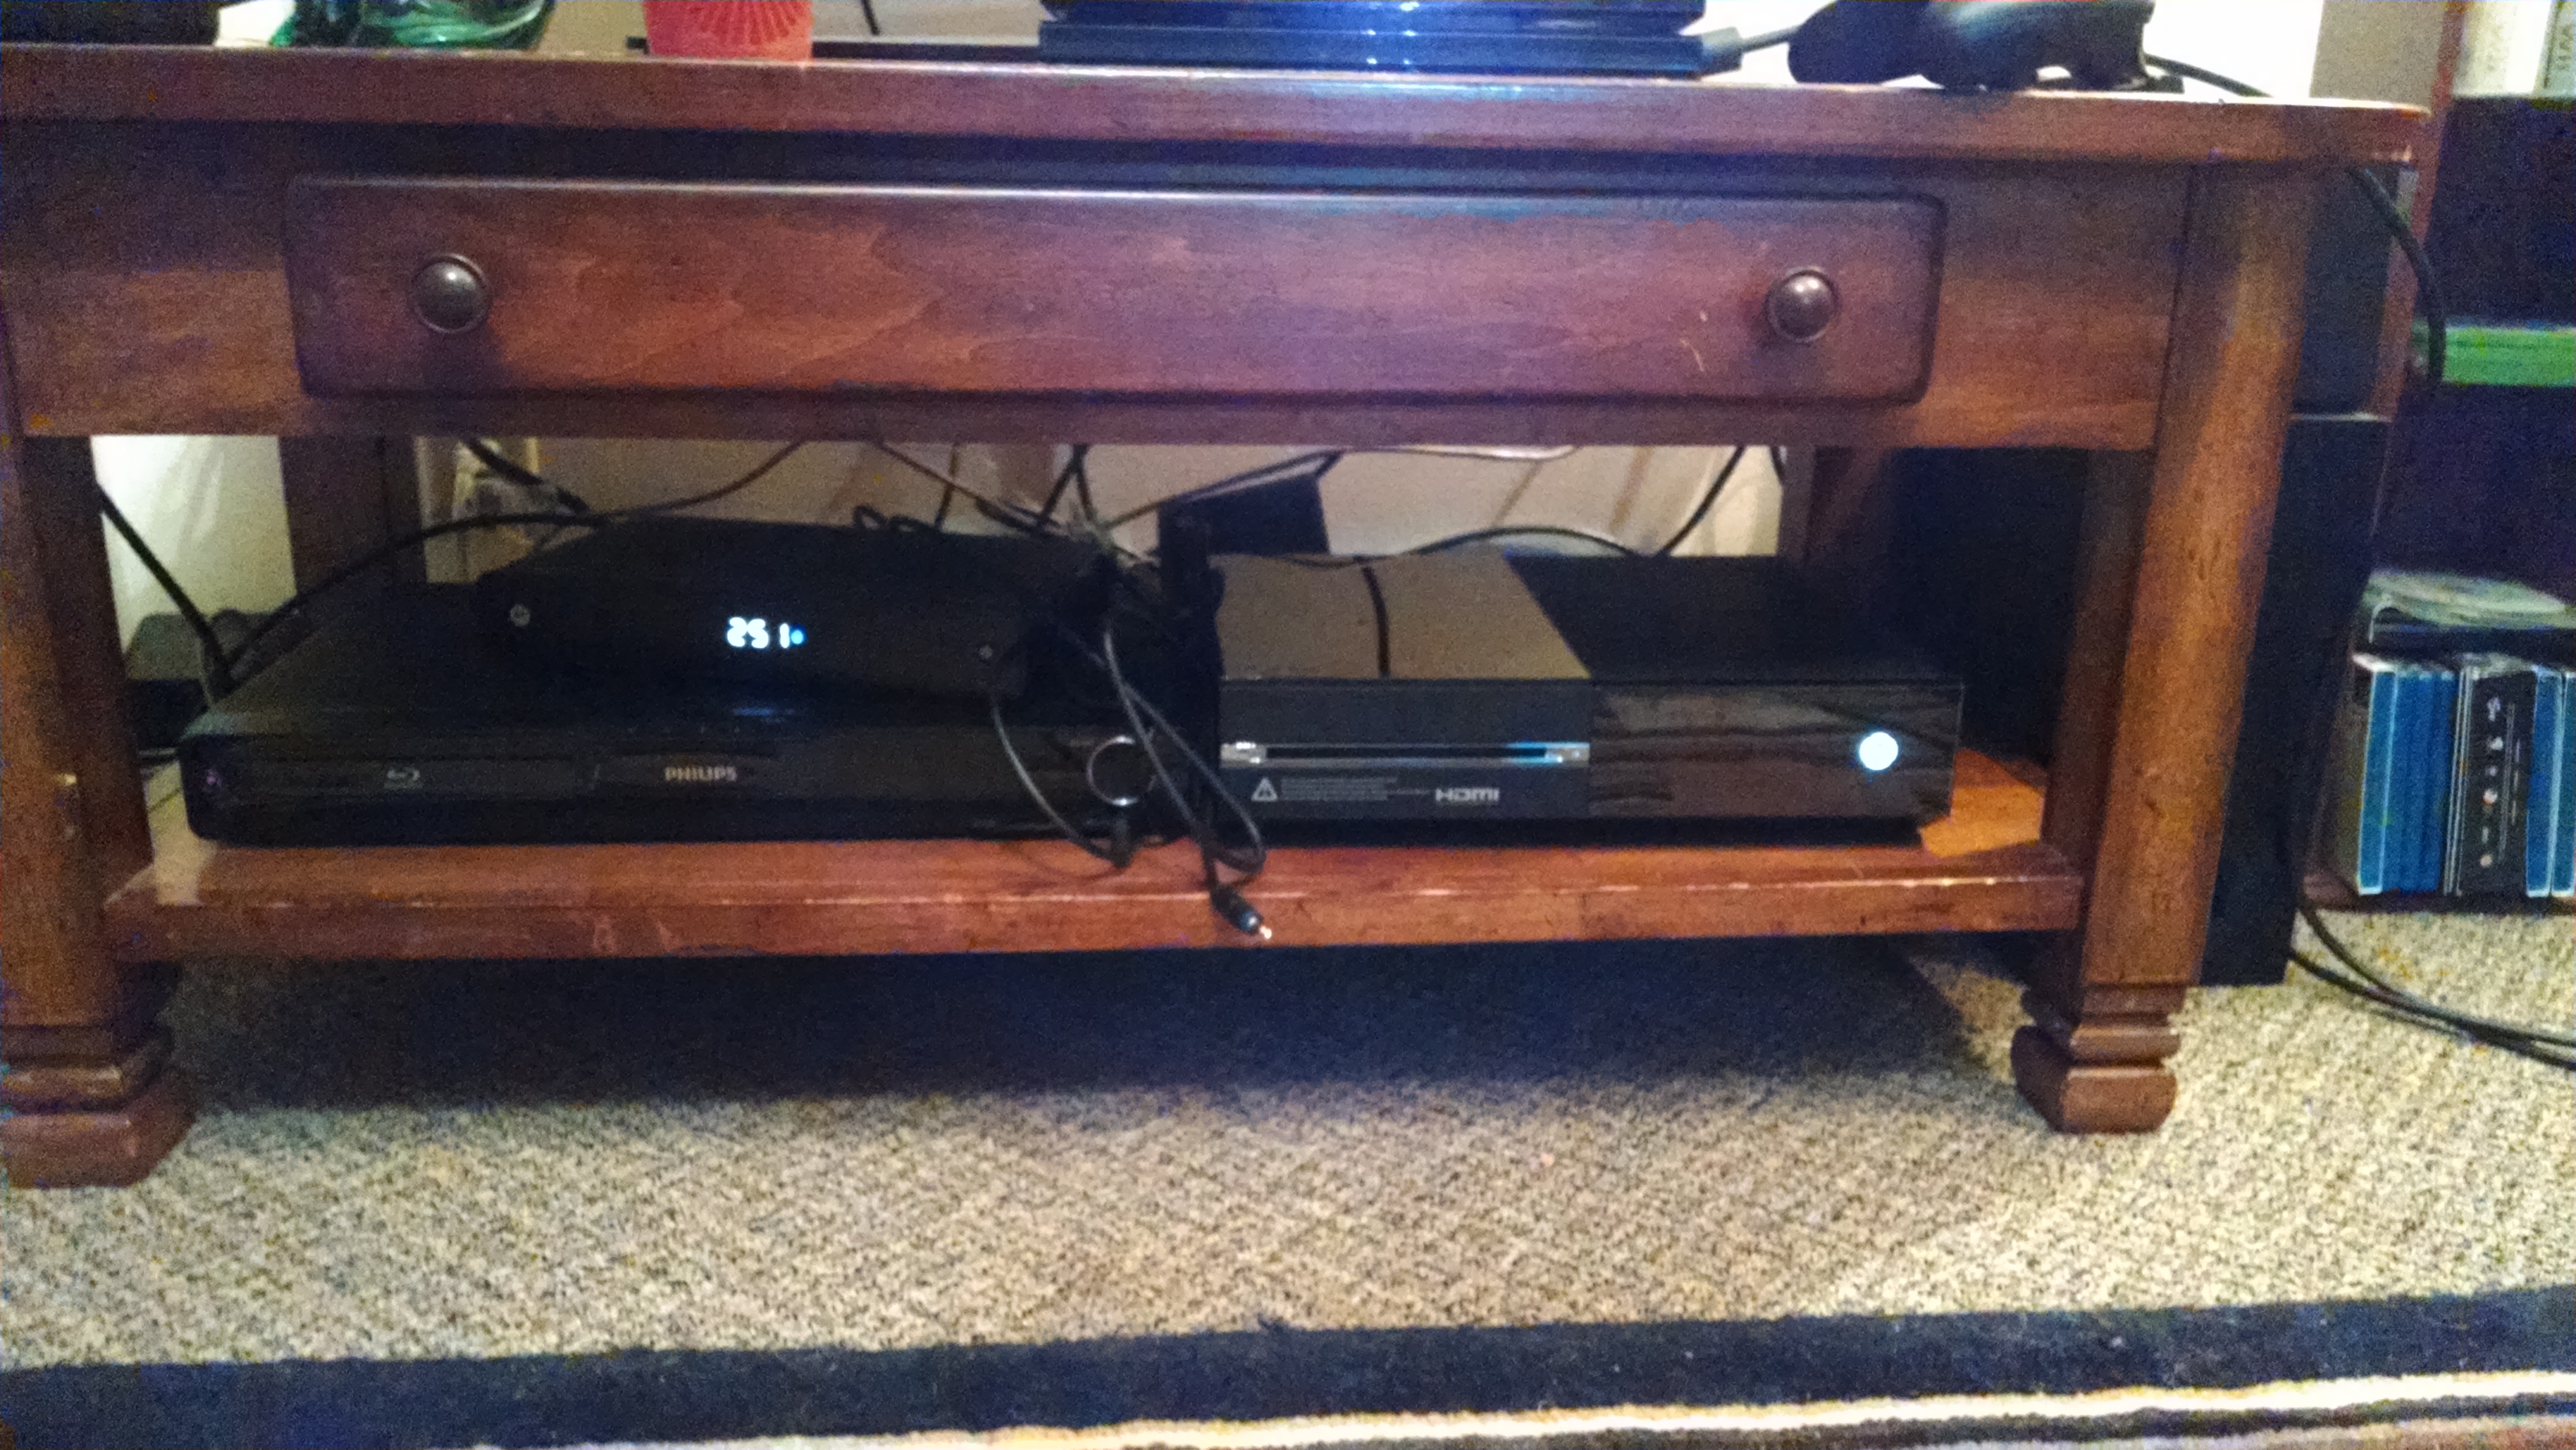
We have a smallish living room which has absolutely no space for our lovely coffee table. So, since we had no space for a coffee table but were also in need of a new tv stand at the same time, we used the table as a temporary place-holder until we found a new tv stand. I think we all know what happened next. We never bought a tv stand. For like 3 years. Mostly because I think they are really boring unless you spend 300 plus dollars, and I just didn't ever think it was worth it.

Witness the boring boringness of boring.

Recently I was bitten by the we-need-a-real-tv-stand bug (I mean, who hasn't been bitten by that thing, right?!) I mean look at this mess. Cords everywhere. (Side note confession: my first instinct is to always spell it "c-h-o-r-d." Music major problems amIright?) And so much dust! And it's so small and cluttered! Yikes.

Witness the awful awfulness. For the sake of full disclosure.

I immediately had visions of a nice, refinished old dresser. I figured it wouldn't be too hard, but I quickly found that the biggest problem was finding something with very specific dimensions because it needs to sit next to that small wall, almost in the corner, but not blocking the bookshelf. Too many restrictions! So I started carrying around a tape measure with me.

I finally found the perfect dresser for $40! I really lucked out. Mostly because I was so excited that it was the right size that I didn't check the condition of the dresser. I mean, I could have gotten it home and found out that all the drawers were glued shut. Or found out that one of the sides had water damage.....which it did. But I was lucky and it wasn't bad at all. The water only ruined the finish, which I was covering anyway. So yay! It also had ridiculously unstable legs, but I took those babies off first thing. I didn't even get a photo of them. (but you can see the big mirror it came with. I have no idea what I'm going to do with that thing, but it seems like a waste to just throw it out just yet. And I removed the mounting hardware from the dresser, so I have that too.)

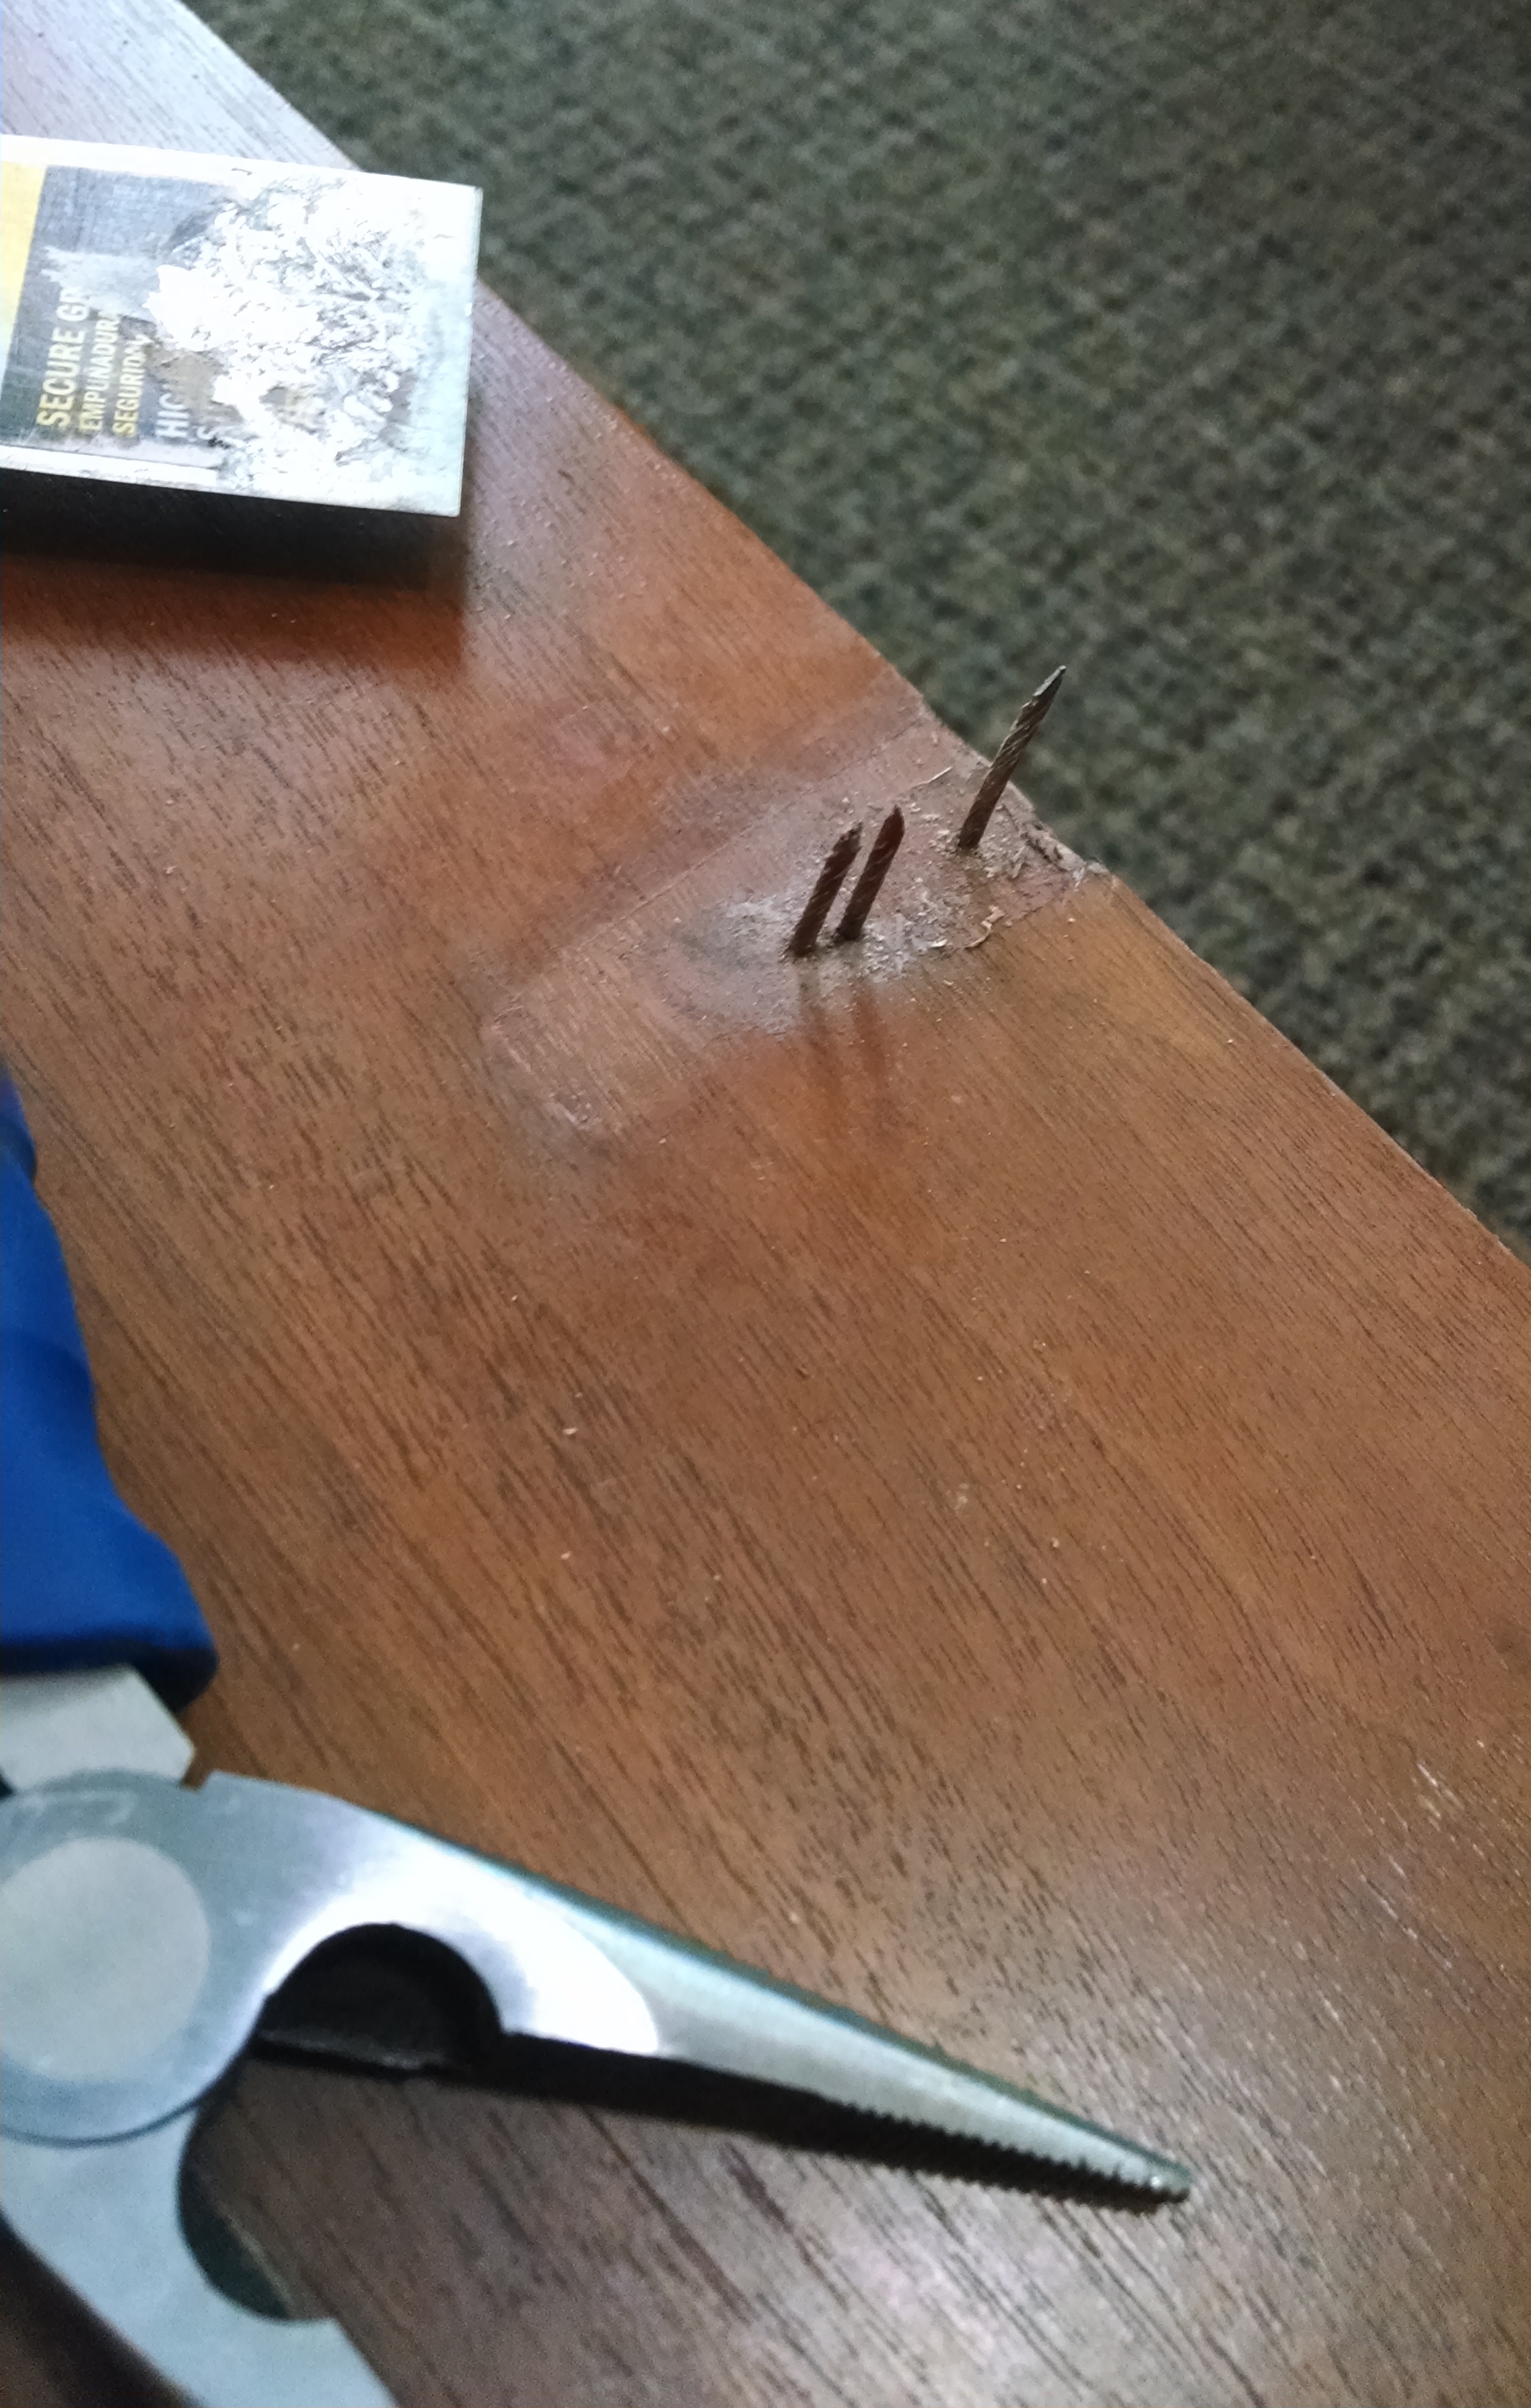
Upon closer inspection (which didn't happen until I bought it, took it home, and unloaded it) I found that the drawer handles (which were awful) were actually nailed in. NOT screwed in. And NOT easily removed. But with a little elbow grease I wriggled those babies off and filled in the holes with a little wood filler. Like they never existed.
Since it was going to need space for all our tv stuff I planned to remove the top drawers and paint the whole inside with some of the leftover charcoal-colored paint I used to paint our door. And I lucked out again because instead of having to make-shift a shelf under where the drawers were, this dresser was old enough that it was already built in! I don't know if any body else has noticed, but most dressers don't have that any more, which means that you can't usually just remove drawers and replace them with cute new baskets. (Or in my case, you can't put too many socks in a lower drawer or they will block the upper drawer form closing all the way.)

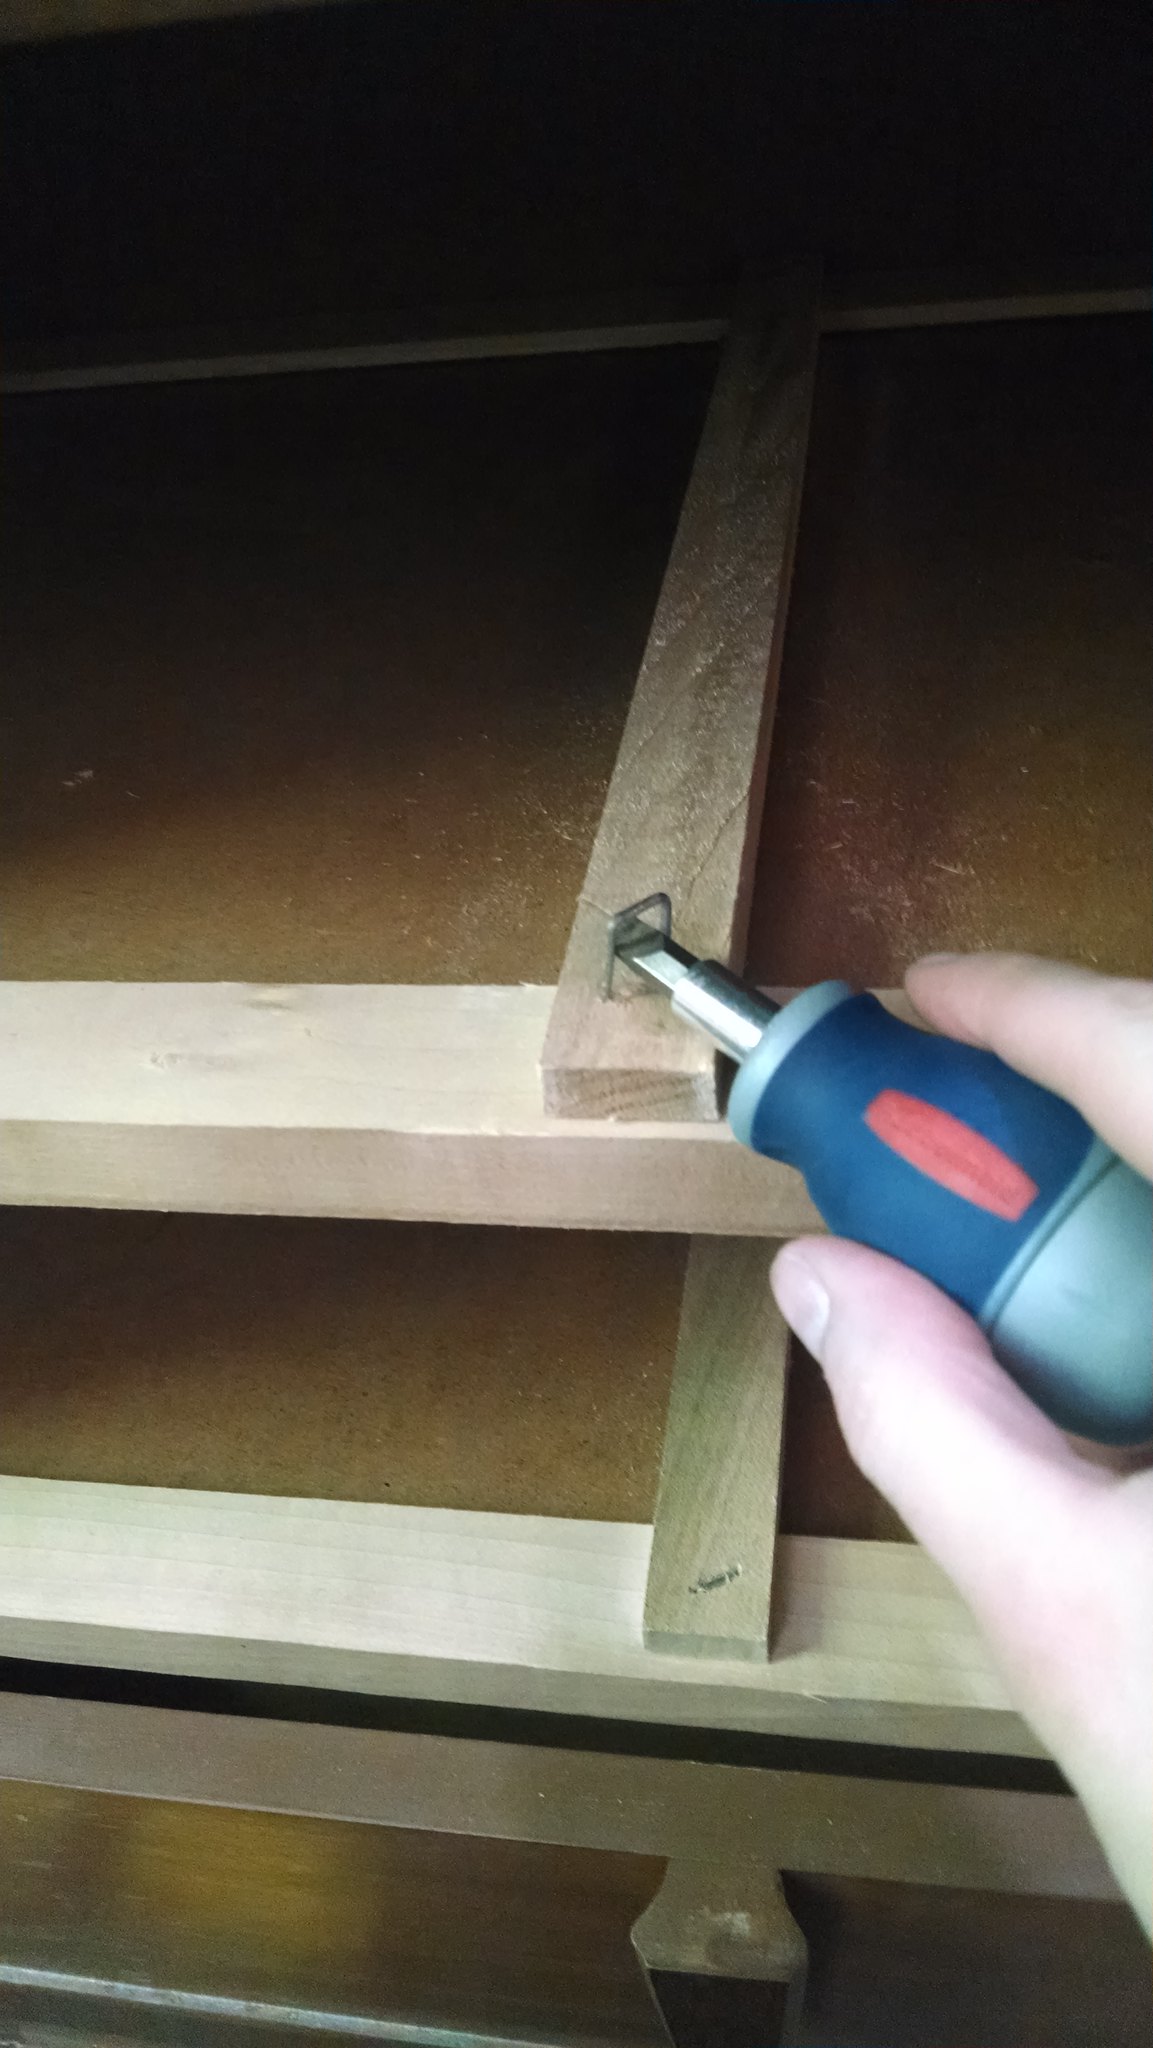
So all I had to do then was remove the drawer tracks. They came off super easy, which is ironic since the drawer handles were like cemented and nailed down. Seriously. Maybe my muscles were all strong from using a hammer and pliers and putty knife and screwdriver repeatedly to get those handles off, but just a little flip of the wrist with my stubby little screw driver and they were gone.

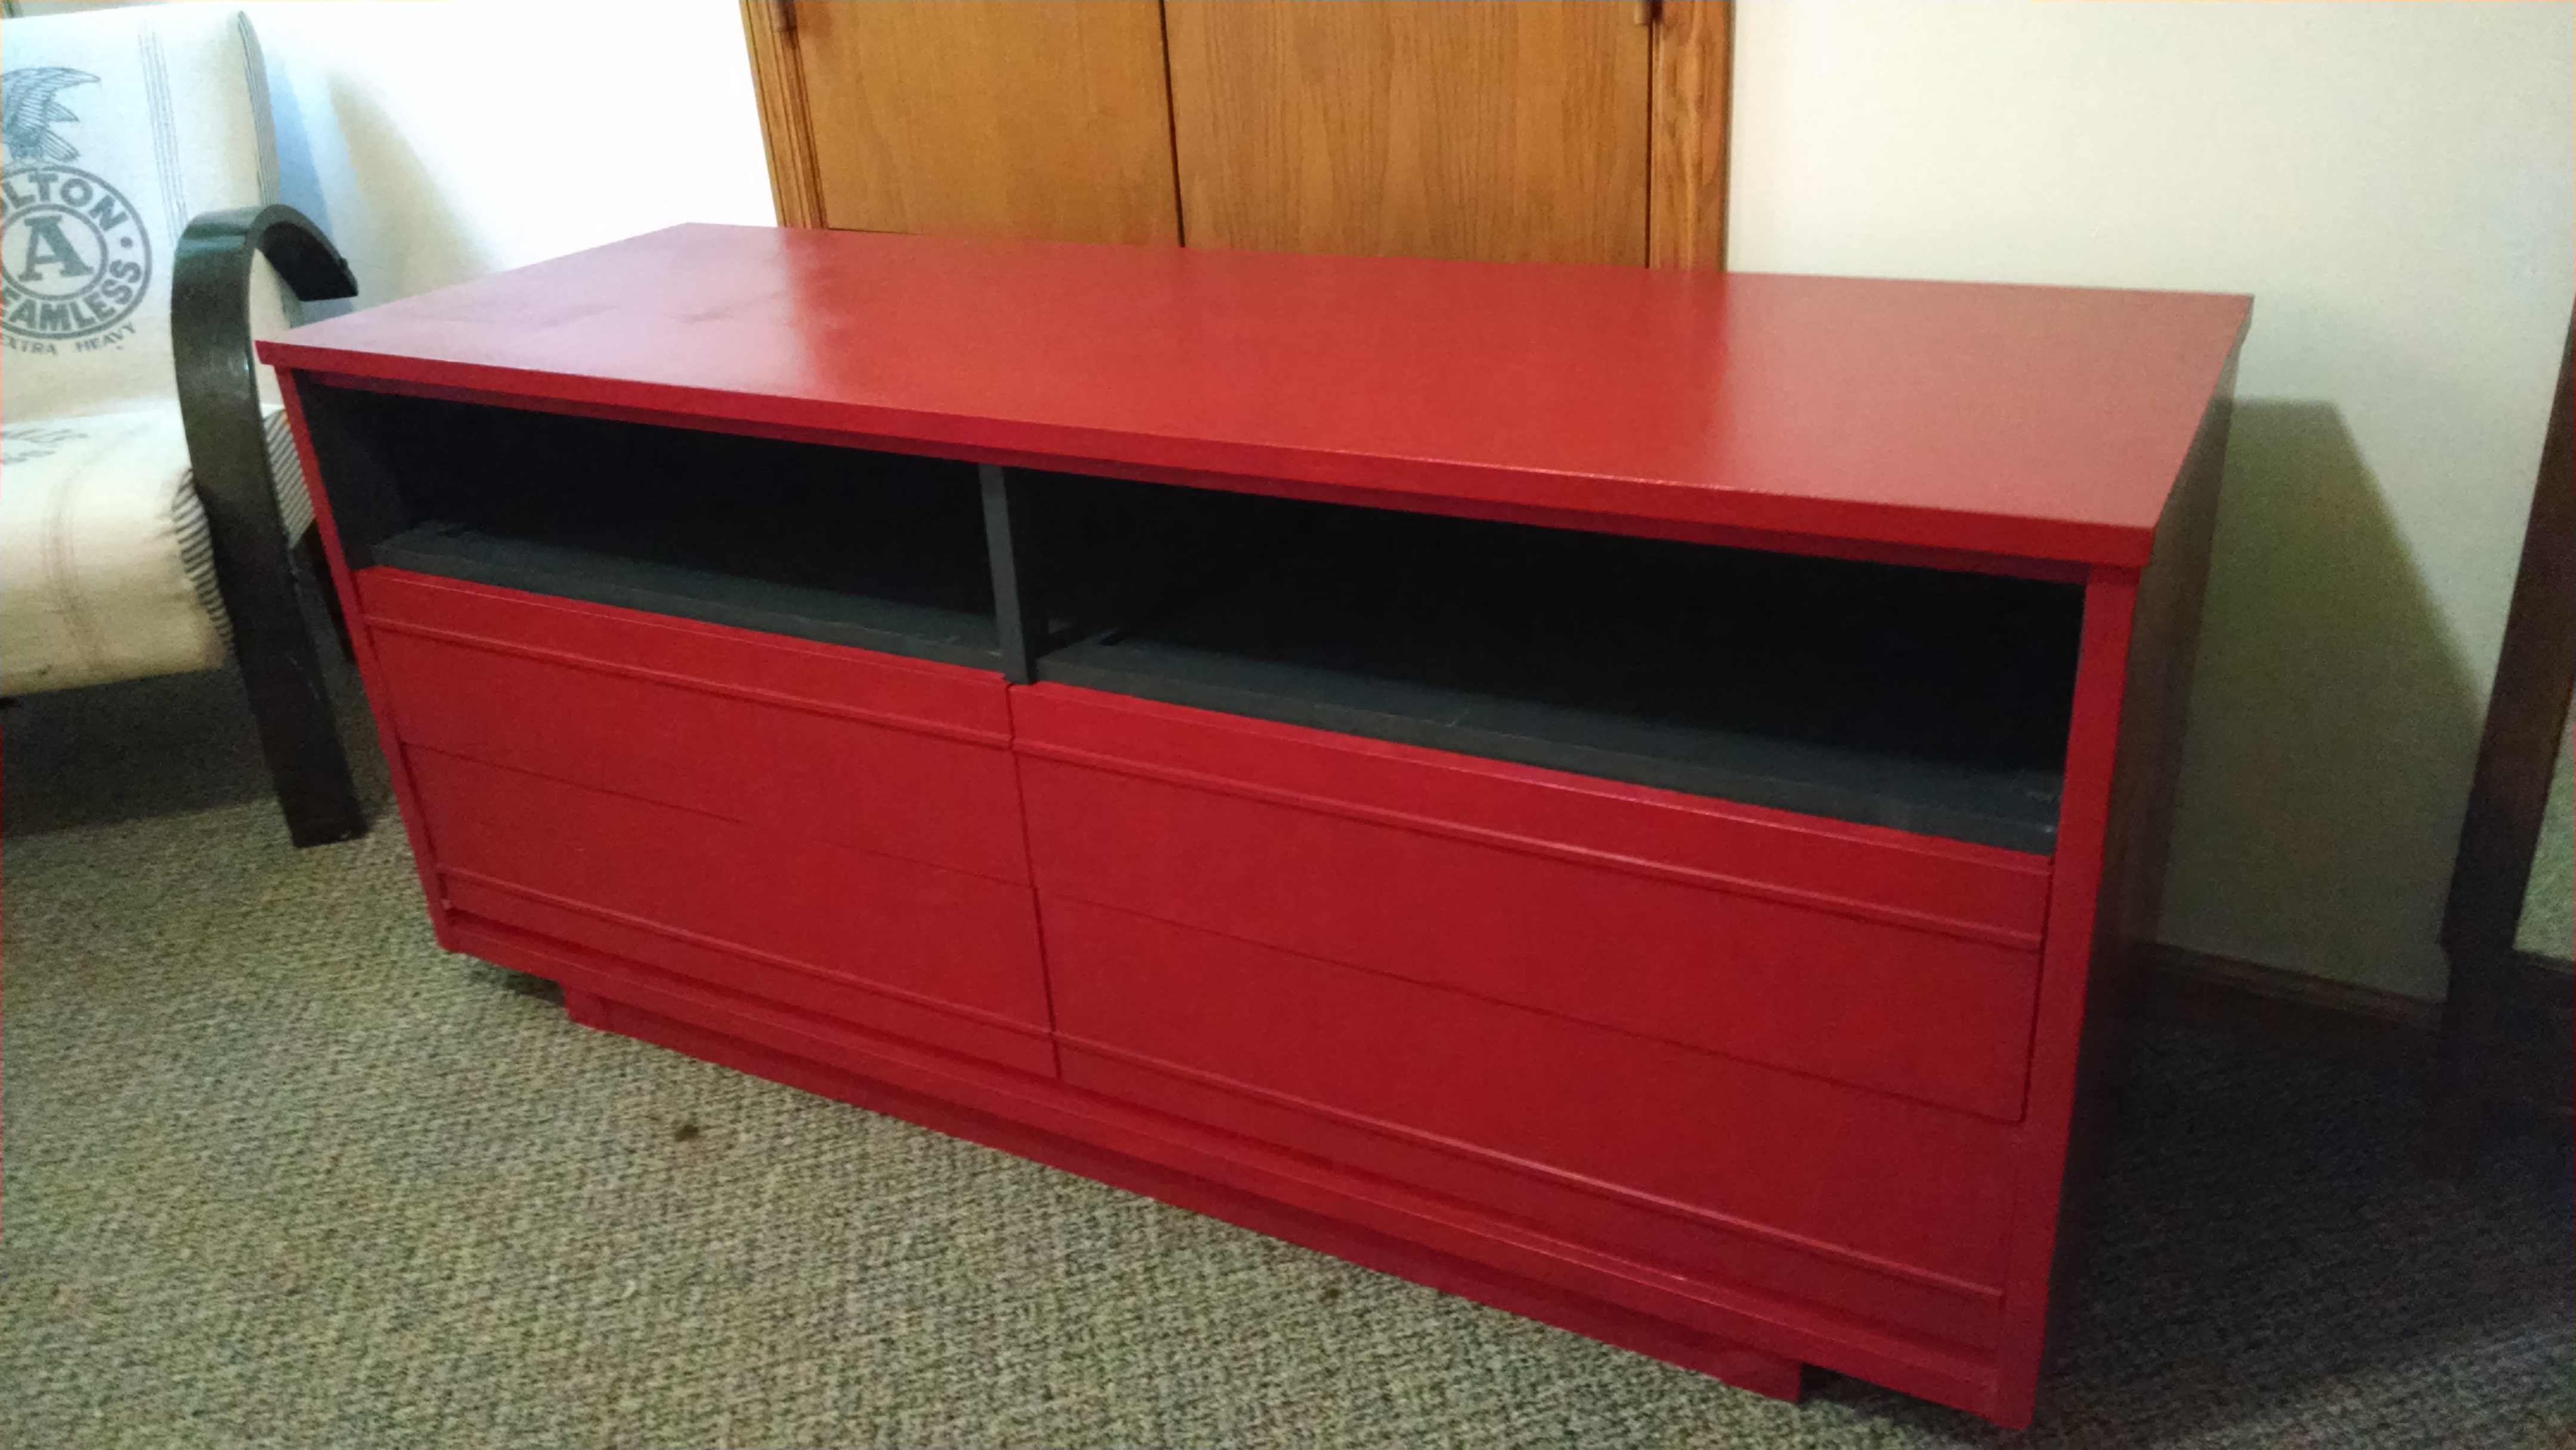
I painted the rest of it red. I won't go into the problems I had with the paint. Let's just say I won't be buying Valspar brand from Lowe's for my next projects. (Seriously.) But after it was finished it looked so boring. And still pretty bright.

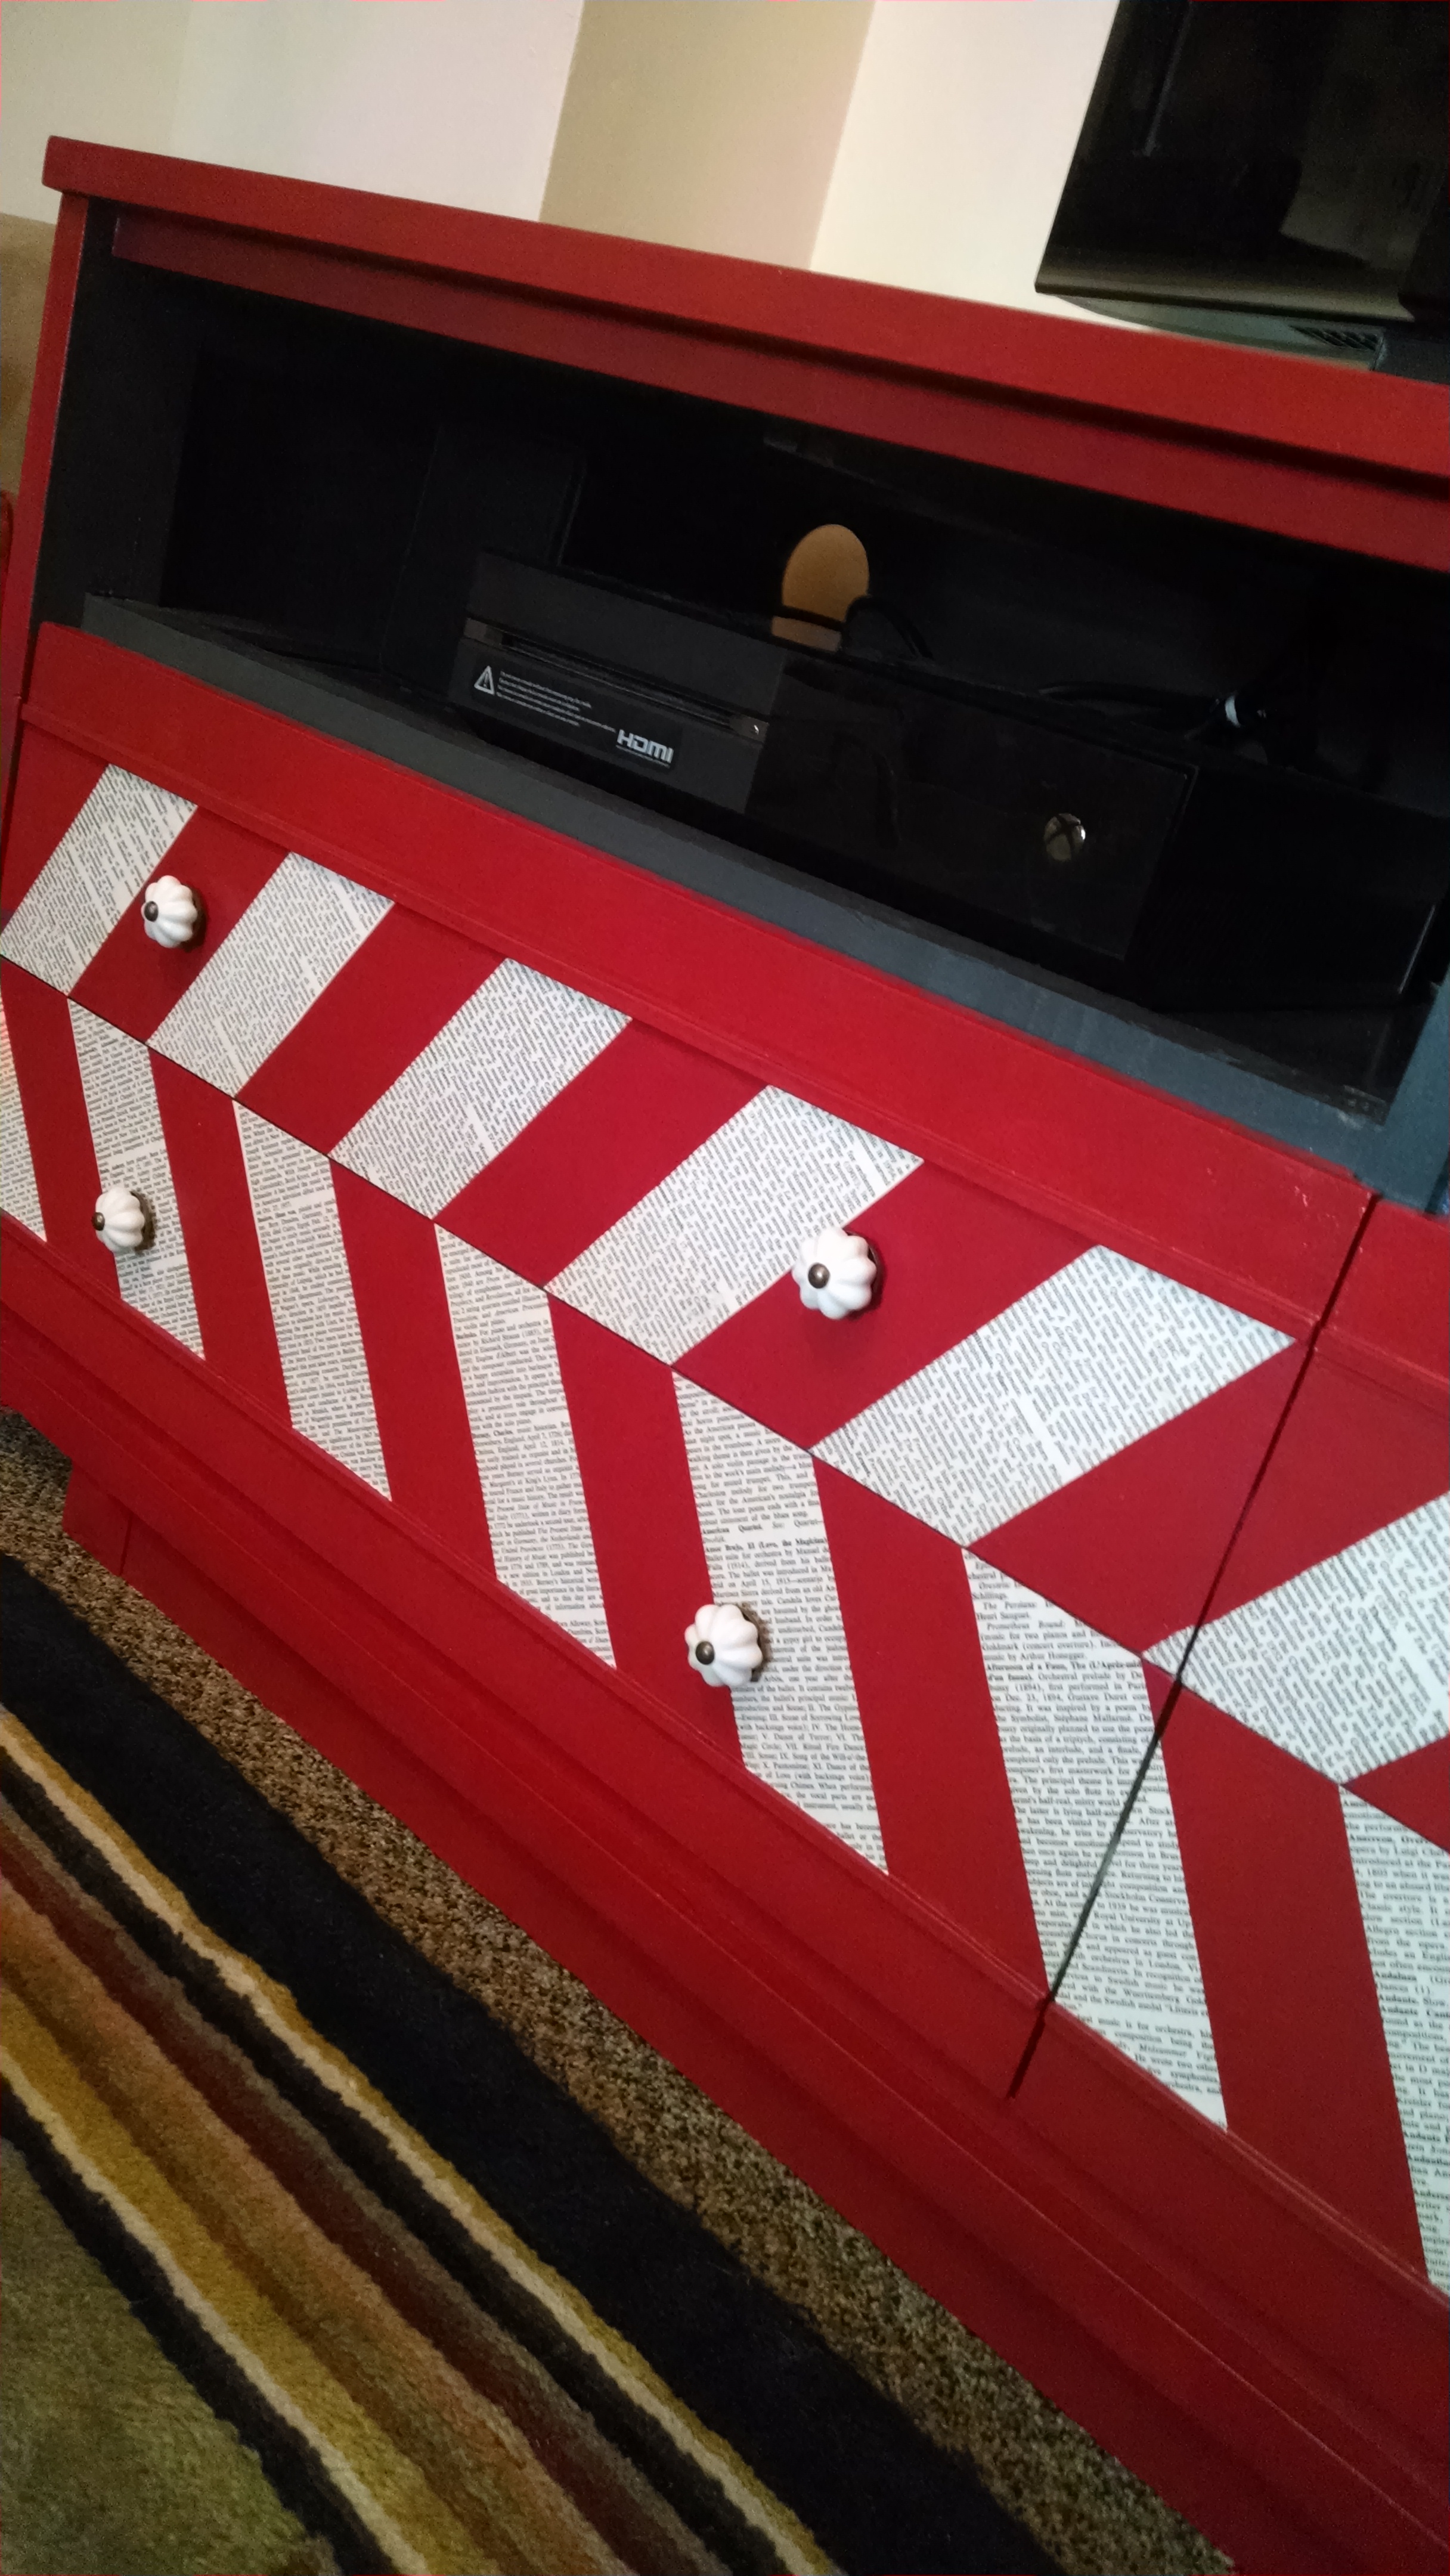
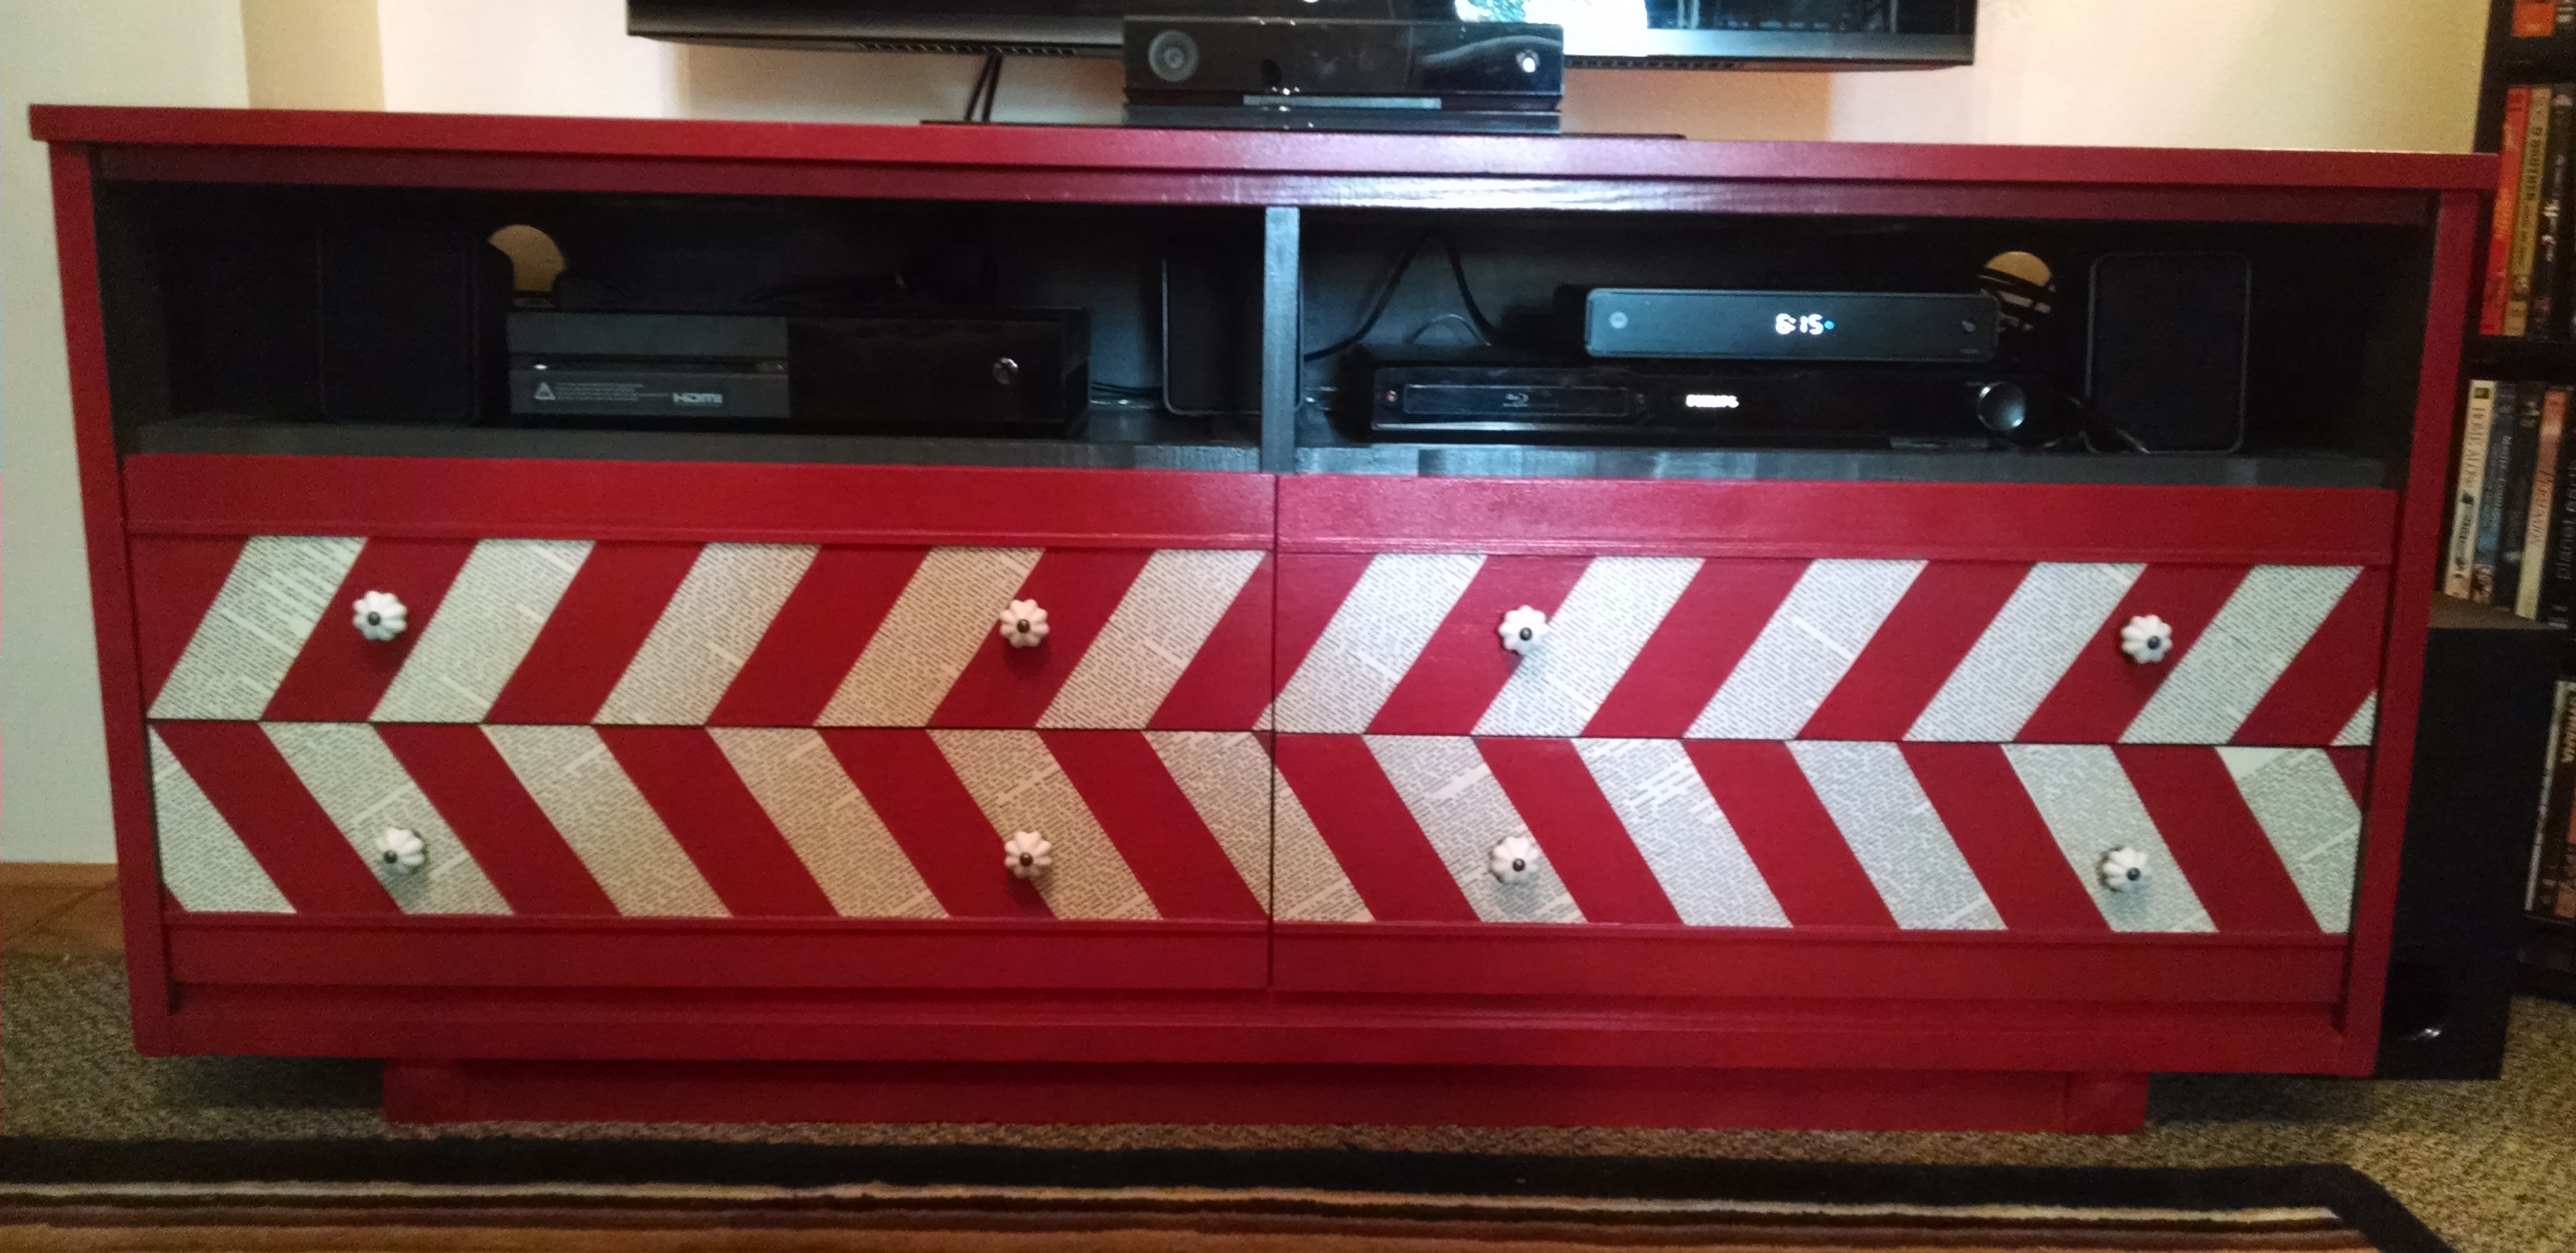
So I used an old Encyclopedia of Concert Music and some Mod Podge and did a herringbone design on the drawers and finished it all off with some old porcelain drawer pulls. I also drilled a 2" hole on each side for the cords (chords) to go through.
 

I painted the inside of the drawers too. (ok, well the girls painted them. They always want to help out, but painting my living room furniture requires a lot of trust, so the inside of the drawers it is!)

BA BAM! I love how it turned out!

I was still worried the red would still be too bright but I think it really pulls the whole living room together. Also, two words: cord (chord) management.

Sunday, May 18, 2014

DIY industrial ceiling chandelier


Our living room, our personal apartment living room, has no over-head light. And just one tiny little window in our back door. What I'm trying to say is, we live in a cave. When we moved in these lamps were randomly all put up on the bookshelf and it's been our only lighting. For over a year. Yikes.

I've been wanting to do something about it for some time, but haven't found a great solution until recently, and it was so easy (and awesome!) I'm kicking myself for not doing it sooner.

Step 1: gather all necessary materials.
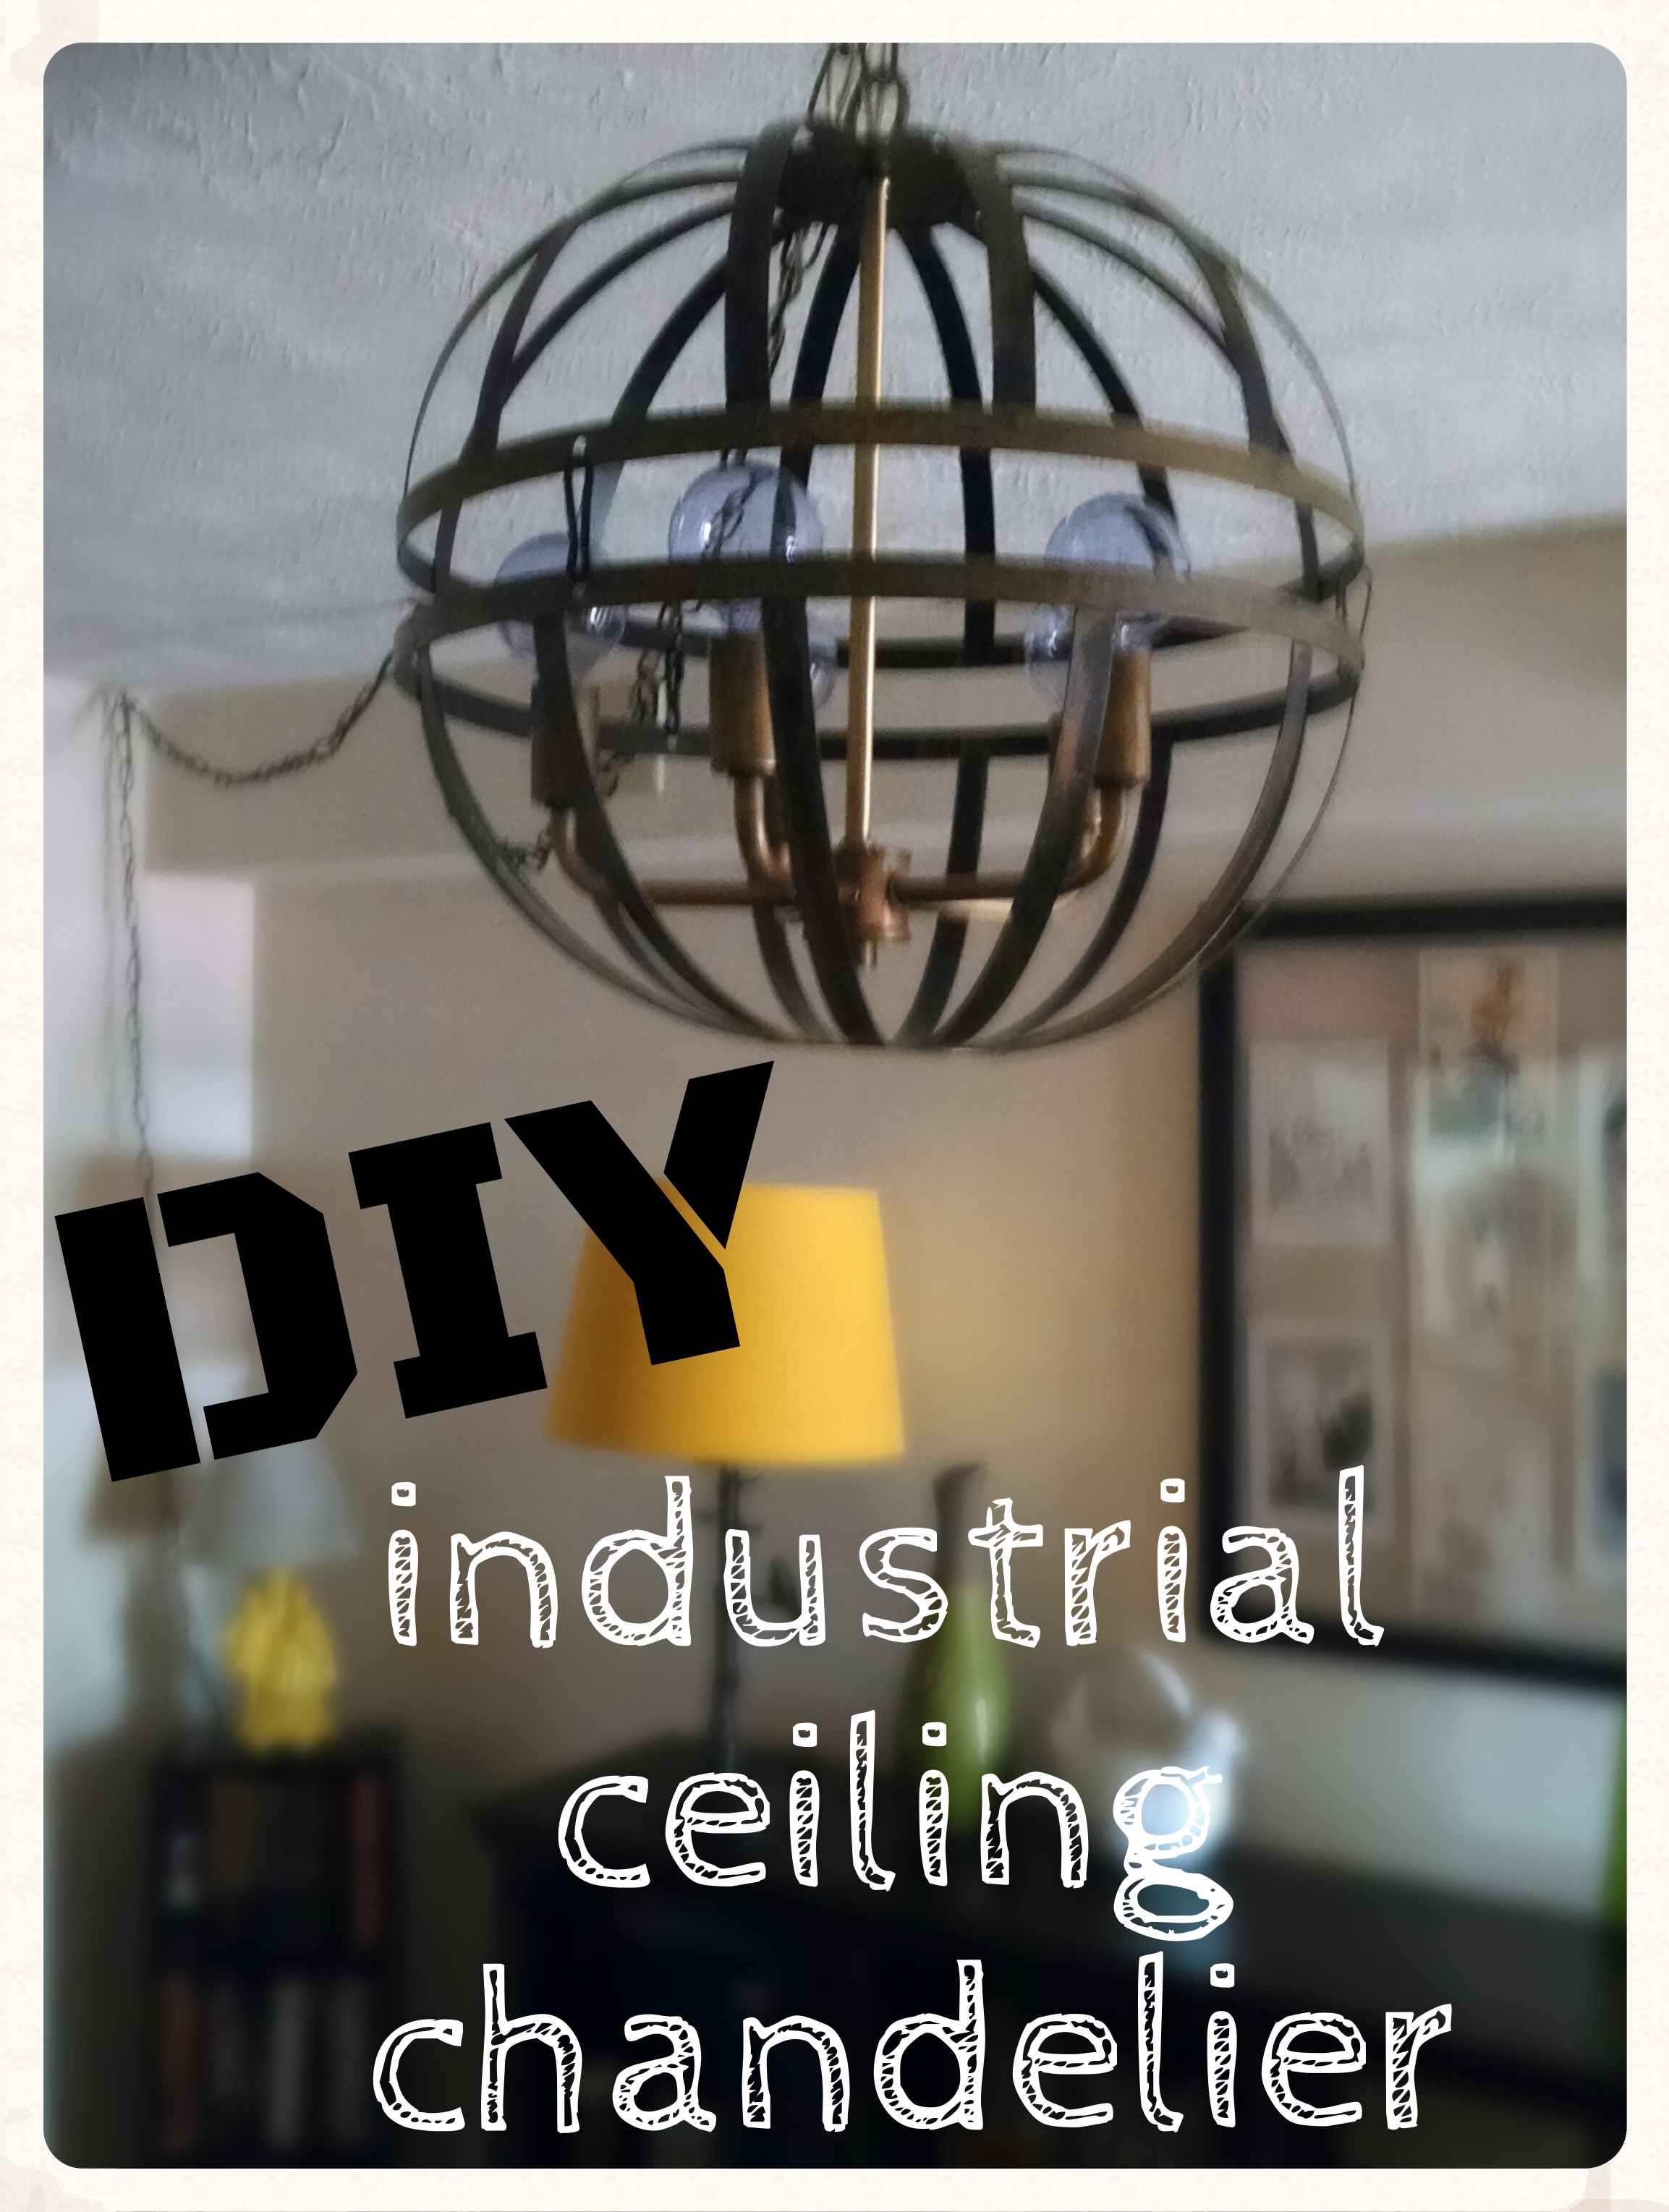
I went on a hunt to my local ReStore and found this amazingly hideous ceiling lamp. Actually, take away the huge (and surprisingly heavy) glass shade and you have this awesomely industrial light fixture.


Other stuff you need:
-pliers
-a drill (and safety goggles)
-cool sphere light bulbs
-a ceiling lamp kit (One of my issues was that I'm not replacing an existing ceiling light fixture- there just isn't one. And I really don't want to go through the ordeal of getting one mounted. Especially because some day in the very distant future we will move and I'm taking this baby with me!)
-two flower baskets (I was thinking about buying an old lamp shade and doing something along these lines, but one of my girls (with a fantastic eye) spotted these baskets and I really like how putting the two together makes it so globe-like. )

step 2: deconstruct the lamp (aka unscrew the top loop and take off the shade) and remove the chain with pliers.

step 3: drill a hole in the top of one of the baskets
I looooove any project that requires the use of my drill. I may or may not rev it a million times before starting.

I stopped taking pictures of each step at this point because it started to feel like I'm insulting everyone's intelligence. Of people I may or may not know. Over the internet. How rude.
step 4: put the bare light fixture into the new hole and screw the top piece back on and attach the bottom basket (I just used the chain clips from one of the baskets)

step 6: attach the new chain and thread the lamp chords through the chain. Add the new cord to the chain and then wire the new and old cords together. I seriously know nothing about this stuff, but it was as simple as twisting two pieces of wire together and covering with electrical tape. (but you can tell your friends it was super complicated!)

step 7: install swag hooks in the ceiling

step 8: plug in and swag! (and I mean that in both senses of the word. Ok, nope, nevermind, I take it back, too dorky.)


I couldn't be more happy with the final result! My living room is much less cave-like now. Of course it exposed all the dust bunnies we had living in the corner, so I had to vacuum immediately, but that's a small price to pay.

Wednesday, May 4, 2011

new bedroom art!

my new bedroom art revealed! i know, i know, you've been sitting on the edge of your seats for weeks just waiting for the big reveal, and i did my very best to get some decent photos, which i'm not thrilled with, but whatever. the time has come! 
here it is:


 a couple weeks ago i found this amazing artist and was completely inspired by one piece in particular. i like to think i'm a unique person with my own ideas, but i just felt the need to recreate this for my bedroom. it's slightly different, of course, but very obviously not my original concept. with that said, i still really love it!

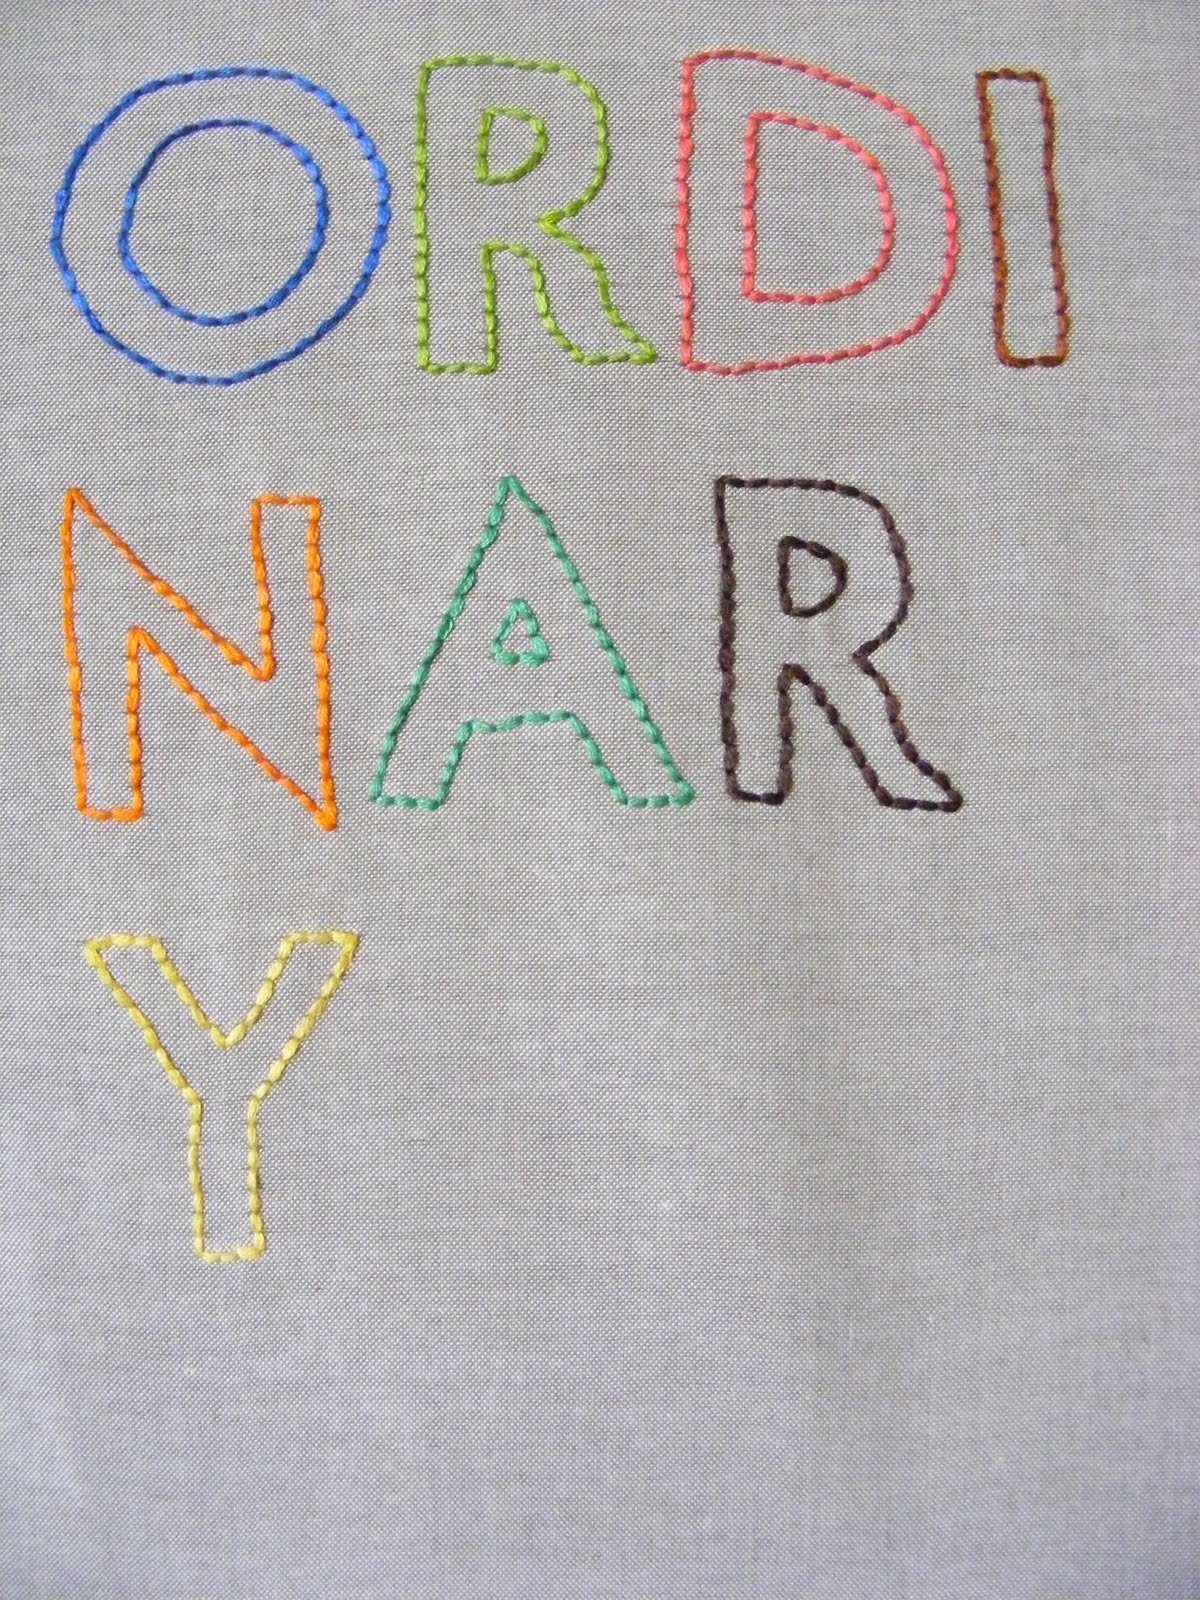
piece of tan linen from the remnant bin, plus a couple skeins of embroidery floss and a frame i already had on hand made this a cheap project! and much more cheery than it appears in my photos...

i had some leftover materials, so i grabbed an empty frame from the vintage store in town, painted it black, and made another one.
lyric from one of our favorite songs {mentioned before because i love it!}


 this is the most accurate photo for the color scheme. and while i'm still a novice embroiderer, i think my stitches are getting better!

Thursday, April 28, 2011

little change #3

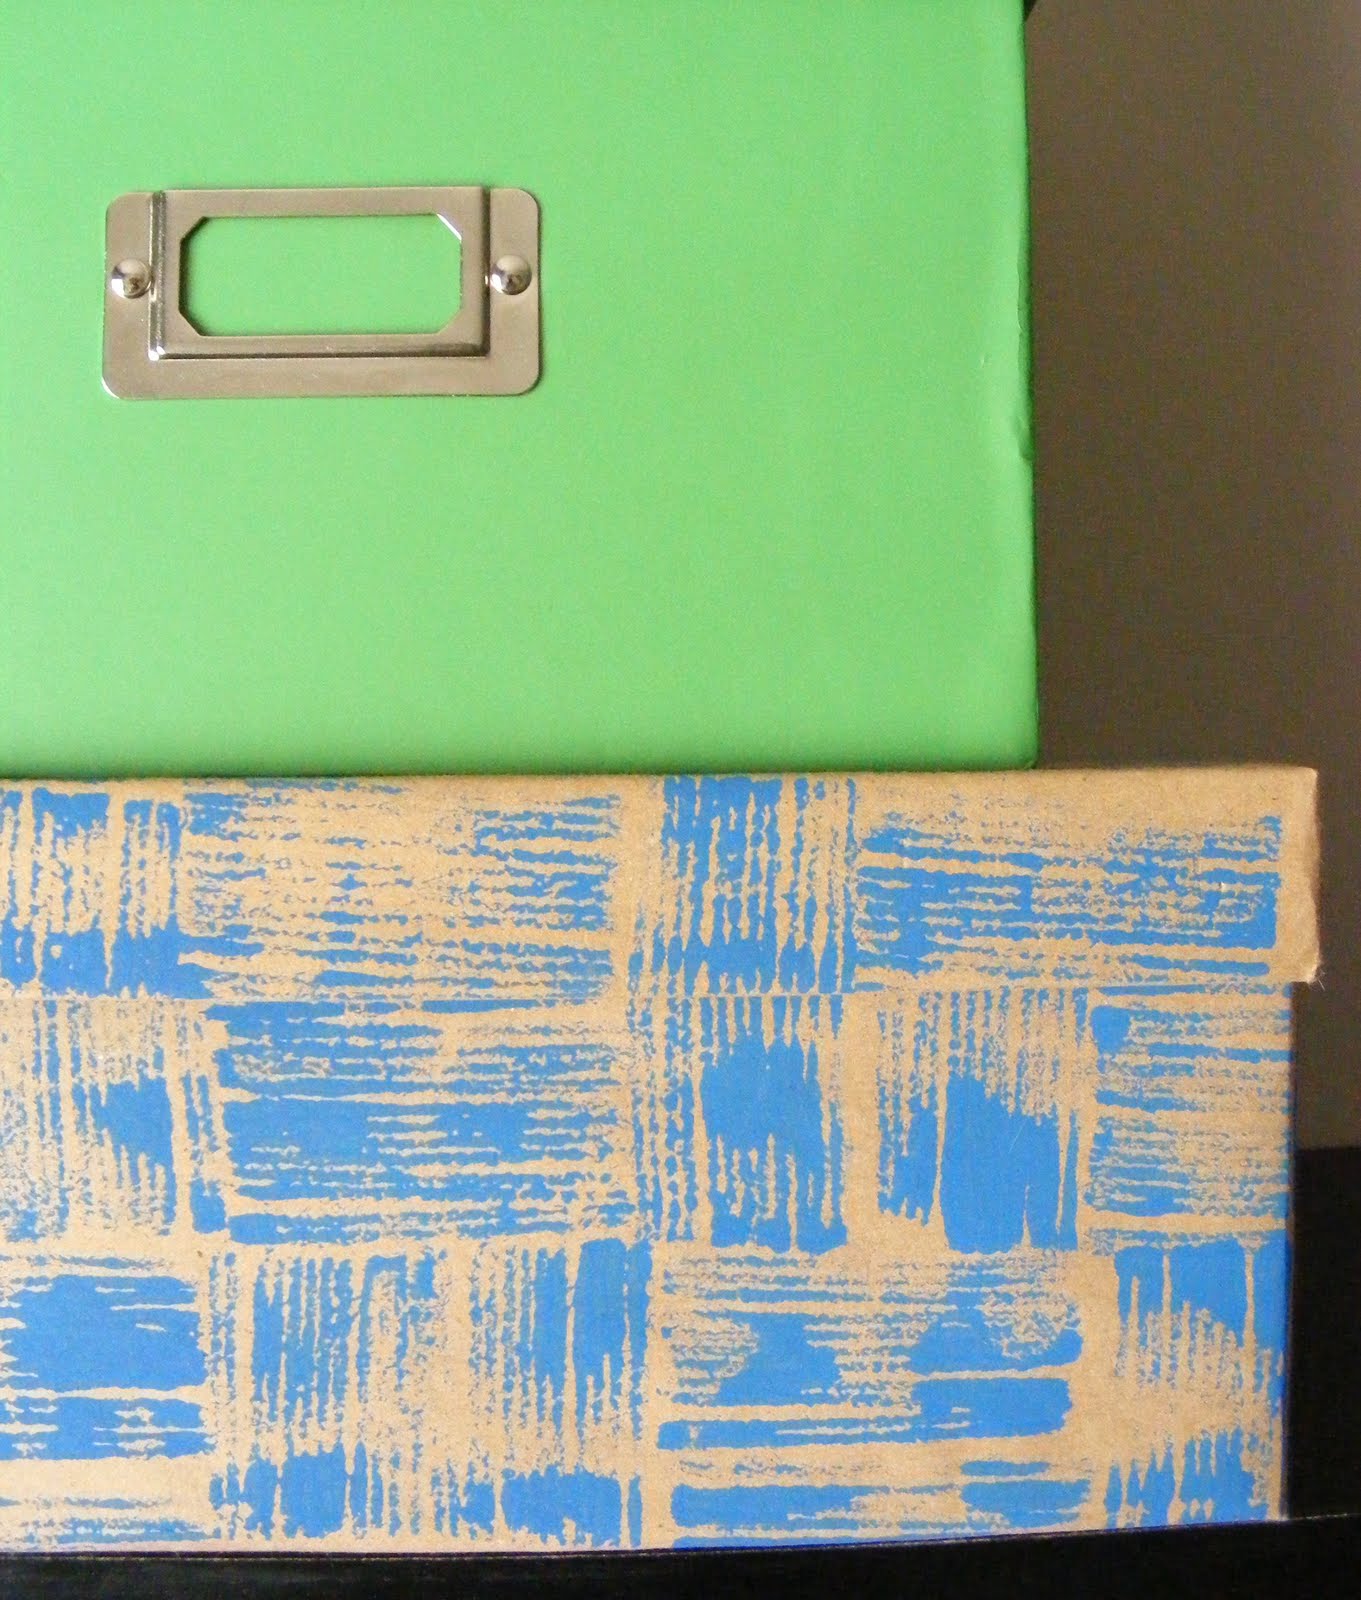
so i keep lots of my crafting supplies {as well as just about every card i've ever received} in boxes. many of which i've had for years. most of them have been either upcycled or re-covered at least once {such as the zebra print box i've had since high school} but a couple of them were overdue for a makeover. i covered them in brown craft paper and tried out this stamping technique i saw making the rounds on pintrest a few weeks ago:
inspiration:

my results:

i wrapped some scrap yarn around a block and used a sponge brush to cover it with acrylic paint. i wasn't very consistent with my application and the paint wasn't spread very evenly, but i like it anyhow.

 i always like trying something new and this was a pretty simple and low-risk project seeing as how anything i don't like can be covered with new paper.

Wednesday, April 20, 2011

little change #2

i got this adorable little lamp a couple months ago and i love all it's kitschy character. unfortunately the color scheme seems more suited for a nursery than our living room, so i decided to make some changes.
i love how it turned out! and it really wasn't that much work.
i sanded it, primed it, and spray painted it {while the neighbors looked at me like i was crazy} and recovered the shade {using this tutorial}


it's still just as charming and unique, and i think mozart here looks much better in yellow! 

Sunday, April 17, 2011

paint chip art

I  haven't been around blogland much lately and i'm so dreadfully behind on my blogroll. I don't feel that I've had much to blog about either, especially since I've been focusing all my energy on redecorating my bedroom. and of course any good project of mine comes with a healthy dose of craft therapy. I'm trying to keep myself busy which has resulted in multiple trips to the craft and hardware stores. on one such home depot trip I grabbed a bunch of paint chips and came home to create these little masterpieces:


I'm using several different bright colors throughout the bedroom, and i had these 3 matching frames so i thought this worked out perfectly.

I like how simple they are. and not too hard to make, either. lots and lots of paper cutting, but that has it's own de-stressing properties. win win.


I think this is the best project I've done in a while, but of course I'm biased. I'm trying to take photos of some of the other projects I've got going, and hopefully I'll get my lazy self around to post them soon!

This is by far the most popular project I've ever posted! But since you're here, these are some other projects you might be interested in:
lamp redesign

forest friends key keepers

watercolor fall leaves tutorial

bias tape brooches

Friday, April 8, 2011

little change #1

yellow doilies + old cans + art supplies
{with a little double stick tape thrown in there}
  i've been looking at so many photos of beautiful rooms this week and have finally figured out that the secret is in the details. so i'm working on changing our details around.

i think this is a good start!

Tuesday, March 29, 2011

friendship bracelets

hello! i'm home from my wonderful week away and much to my dismay, we seemed to have jumped back into winter. i know kansans can't be the only people experiencing this crazy weather swing! i mean seriously, i thought this was supposed to be spring!  

regardless of the weather outside, i'm already bringing out my summer wardrobe. which for me always includes a bunch of friendship bracelets! which really doesn't take much explination- they're iconic and elementary school kids have been making them forever and a day.

some how i've never kicked the habit and i've been making new ones each season for years, so i've built up quite a collection. these are just a few of my favorites

and of course, sometimes i even make them for friends, because nothing says "love" like some knotted embroidery floss!