Showing posts with label tutorial. Show all posts

Sunday, May 18, 2014

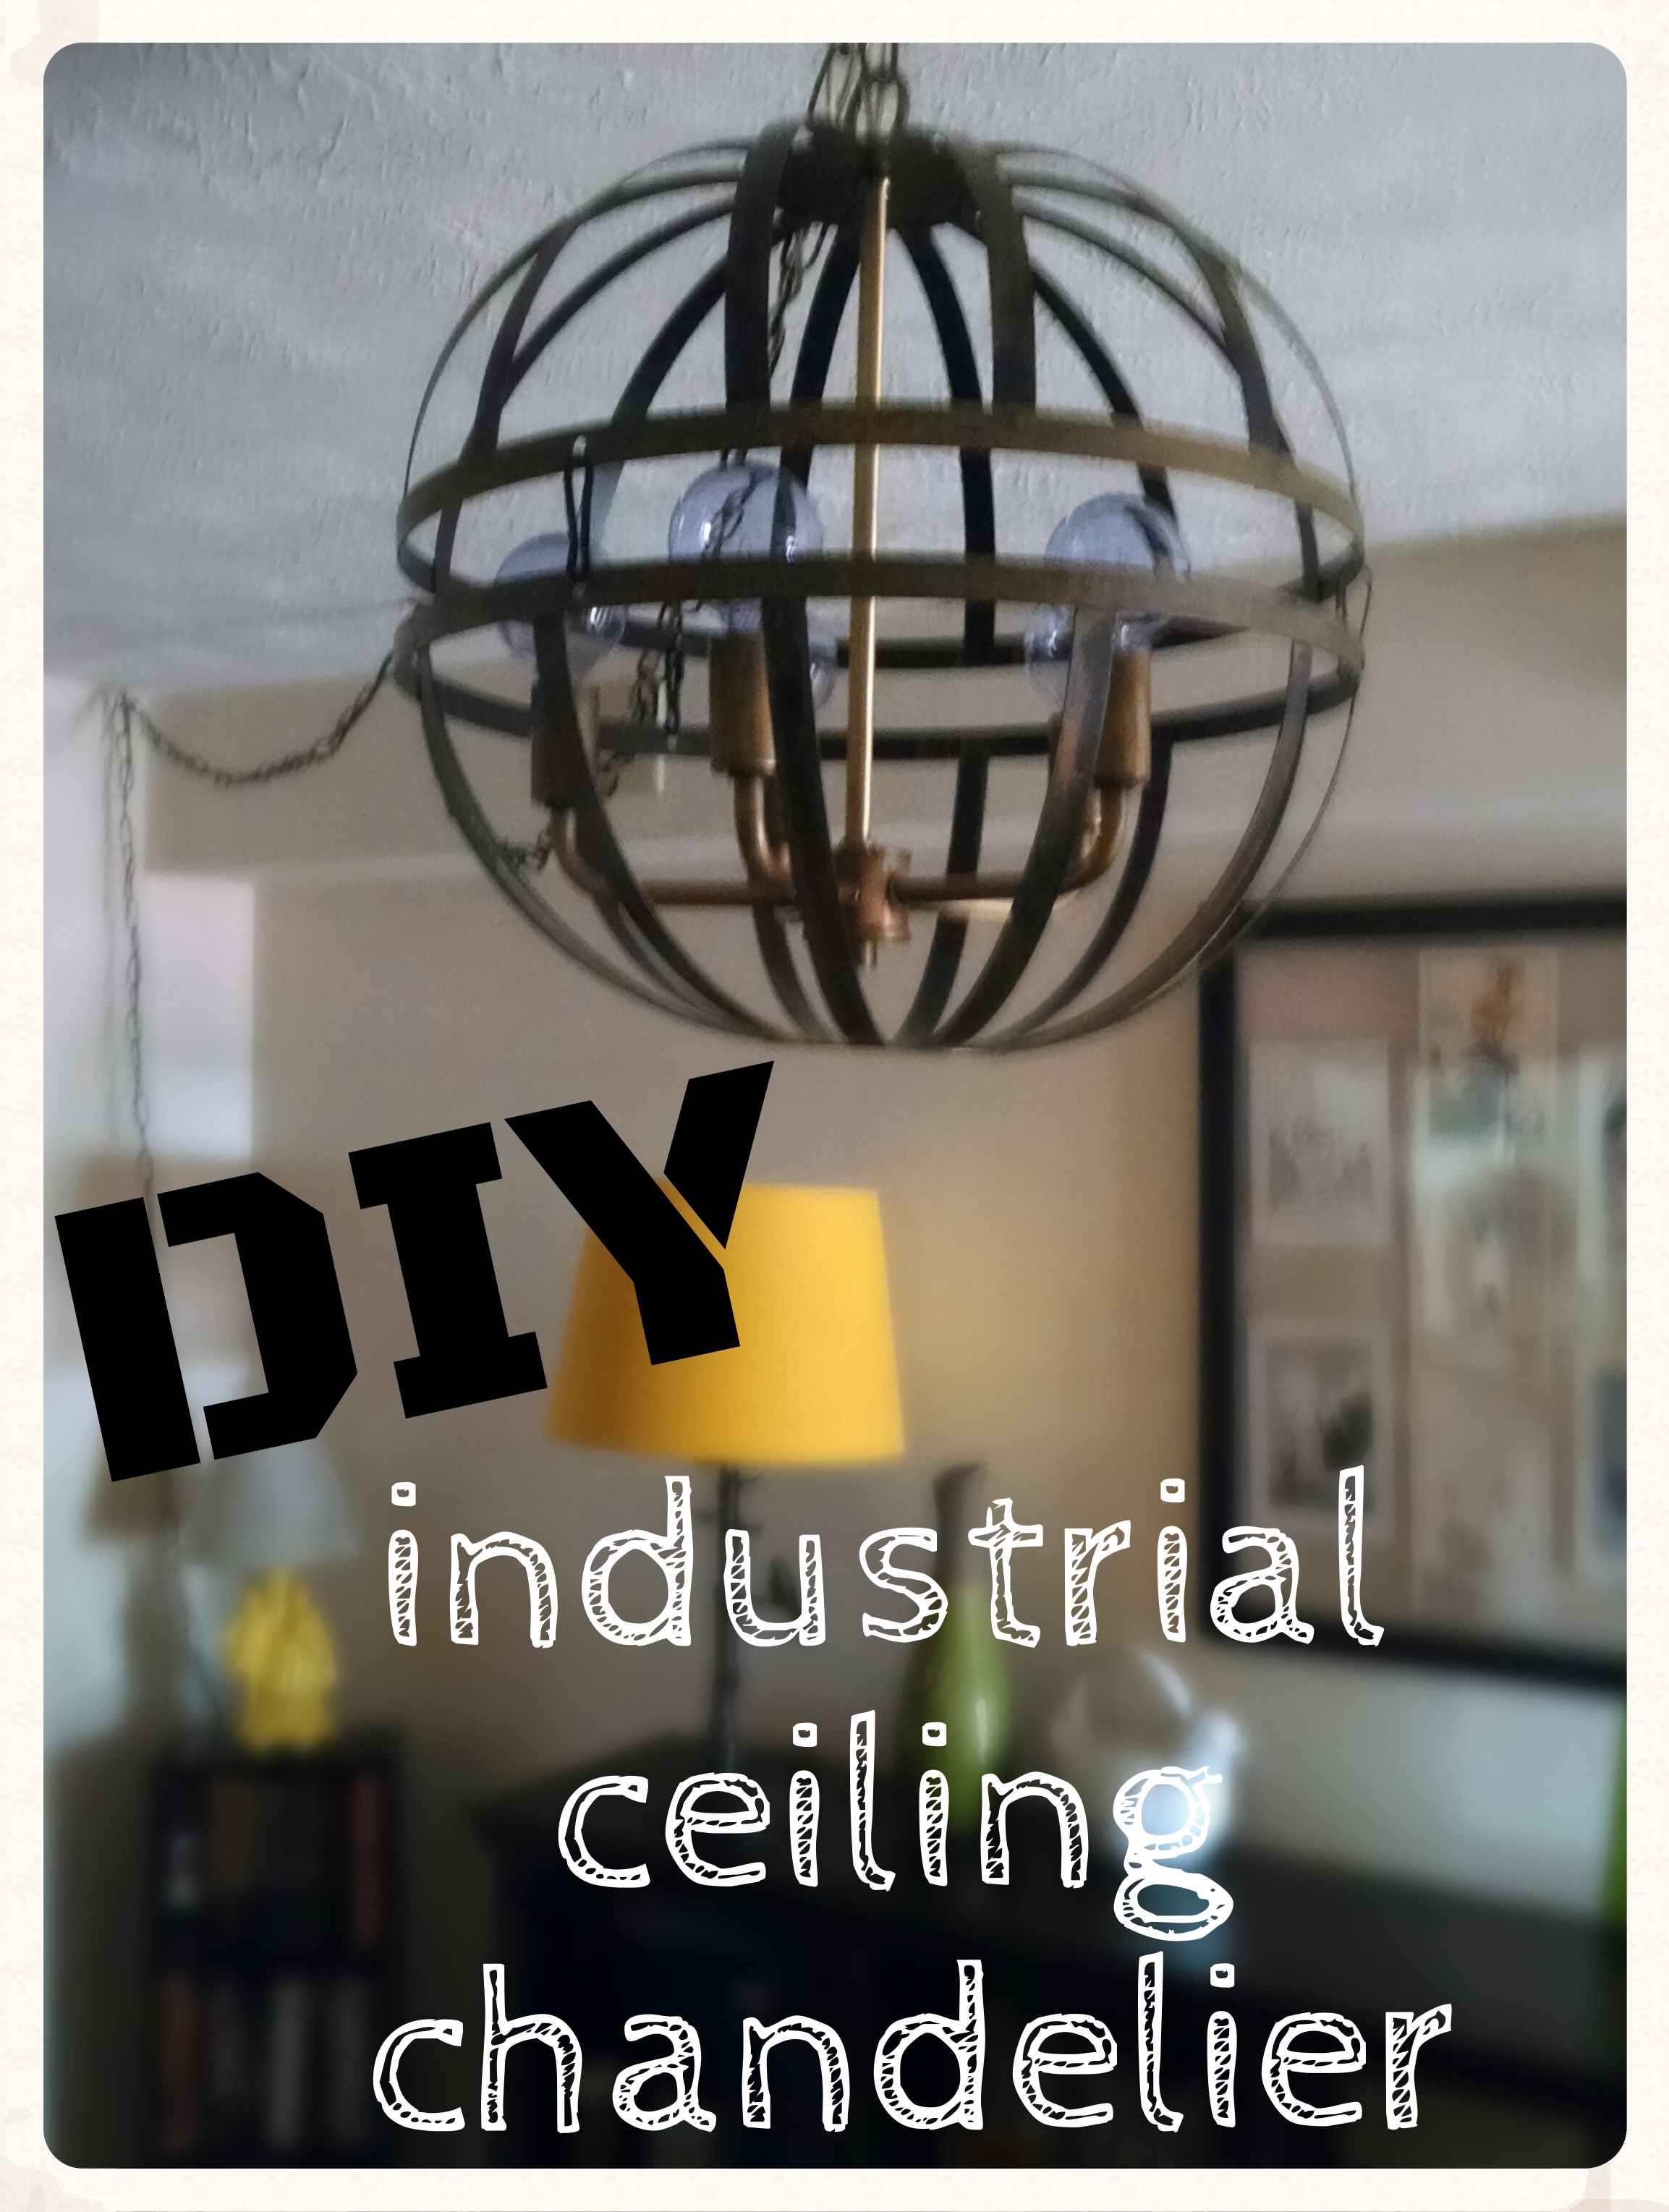
DIY industrial ceiling chandelier


Our living room, our personal apartment living room, has no over-head light. And just one tiny little window in our back door. What I'm trying to say is, we live in a cave. When we moved in these lamps were randomly all put up on the bookshelf and it's been our only lighting. For over a year. Yikes.

I've been wanting to do something about it for some time, but haven't found a great solution until recently, and it was so easy (and awesome!) I'm kicking myself for not doing it sooner.

Step 1: gather all necessary materials.
I went on a hunt to my local ReStore and found this amazingly hideous ceiling lamp. Actually, take away the huge (and surprisingly heavy) glass shade and you have this awesomely industrial light fixture.


Other stuff you need:
-pliers
-a drill (and safety goggles)
-cool sphere light bulbs
-a ceiling lamp kit (One of my issues was that I'm not replacing an existing ceiling light fixture- there just isn't one. And I really don't want to go through the ordeal of getting one mounted. Especially because some day in the very distant future we will move and I'm taking this baby with me!)
-two flower baskets (I was thinking about buying an old lamp shade and doing something along these lines, but one of my girls (with a fantastic eye) spotted these baskets and I really like how putting the two together makes it so globe-like. )

step 2: deconstruct the lamp (aka unscrew the top loop and take off the shade) and remove the chain with pliers.

step 3: drill a hole in the top of one of the baskets
I looooove any project that requires the use of my drill. I may or may not rev it a million times before starting.

I stopped taking pictures of each step at this point because it started to feel like I'm insulting everyone's intelligence. Of people I may or may not know. Over the internet. How rude.
step 4: put the bare light fixture into the new hole and screw the top piece back on and attach the bottom basket (I just used the chain clips from one of the baskets)

step 6: attach the new chain and thread the lamp chords through the chain. Add the new cord to the chain and then wire the new and old cords together. I seriously know nothing about this stuff, but it was as simple as twisting two pieces of wire together and covering with electrical tape. (but you can tell your friends it was super complicated!)

step 7: install swag hooks in the ceiling

step 8: plug in and swag! (and I mean that in both senses of the word. Ok, nope, nevermind, I take it back, too dorky.)


I couldn't be more happy with the final result! My living room is much less cave-like now. Of course it exposed all the dust bunnies we had living in the corner, so I had to vacuum immediately, but that's a small price to pay.

Sunday, November 14, 2010

DIY leaf watercolors

i thought it was about time i posted a tutorial. i've made them before, but never for my own blog and i loved painting these leaves this week, so i thought maybe i'd share {plus, how else am i going to post all these photos of my beautiful thumb?}

supplies:
 watercolor paper
a paint brush
scissors
a pencil
art masking fluid {with the painting supplies at any craft store}
 watercolors {which i forgot to photograph. but i think we all know what they look like}

step 1: trace some leaves onto a sheet of watercolor paper. i downloaded a leaf template i found on martha because i can't draw, but feel free to make your own! 
i tried to fit as many leaves as possible on one sheet.

step 2: use a fine paintbrush and the masking fluid to paint the leaf veins. the masking fluid will block the watercolors, so only paint where you don't want color. the masking fluid is slightly yellow, so you can see where you've painted. it can also really gum up on your paintbrush {you can see it on mine} so make sure you don't use your favorite brush and wash it right away. i can't always get it completely clean again.

i painted from the stem to the tip of the leaf, and then from the main vein out. this keeps globs of masking fluid from collecting at the end of the veins, which doesn't look as natural.

step 3: let it dry and then paint with watercolors! i like "dabbing" the paint on rather than using strokes and making the leaf all one color. make sure you don't leave any white spots and you go over the edges of the leaf. just paint right over the masking fluid, the color won't leak through.

 step 4: after it is completely dry you can pull off the masking fluid. i use an eraser to get it started

 and then it just pulls right off!

step 5: finish pulling the rest of the masking fluid off of all the leaves and then cut them out.

 i'm thinking of making little "bouquets" of leaves for our thanksgiving table or attaching them to a wreath. they're not nearly as gorgeous as the real thing, but much more sturdy and the colors won't fade. plus, i can't resist trying something new!

Monday, September 27, 2010

frame and screen jewelry organizer

today you will find me guest posting at salsa pie, one of my favorite blogs since the beginning of time {or at least since i started blogging} caroline's blog is full of wonderful ideas and is always an inspiration. she just had a beautiful baby boy and while she and her family are spending some quality time together, she's asked some blog friends to help fill in.

so if you want to learn how to make this:
go check out my guest post! and make sure you say hi to caroline while you're there, she's the best!

Monday, December 14, 2009

plush christmas ornaments

my friend joanne is wonderfully creative and has a crafty blog and i'm a guest blogger! today's post is my tutorial on how to make these plushy christmas ornaments:
while you're there, say hi and look around at some of her great crafts.