
Our living room, our personal apartment living room, has no over-head light. And just one tiny little window in our back door. What I'm trying to say is, we live in a cave. When we moved in these lamps were randomly all put up on the bookshelf and it's been our only lighting. For over a year. Yikes.

I've been wanting to do something about it for some time, but haven't found a great solution until recently, and it was so easy (and awesome!) I'm kicking myself for not doing it sooner.
Step 1: gather all necessary materials.
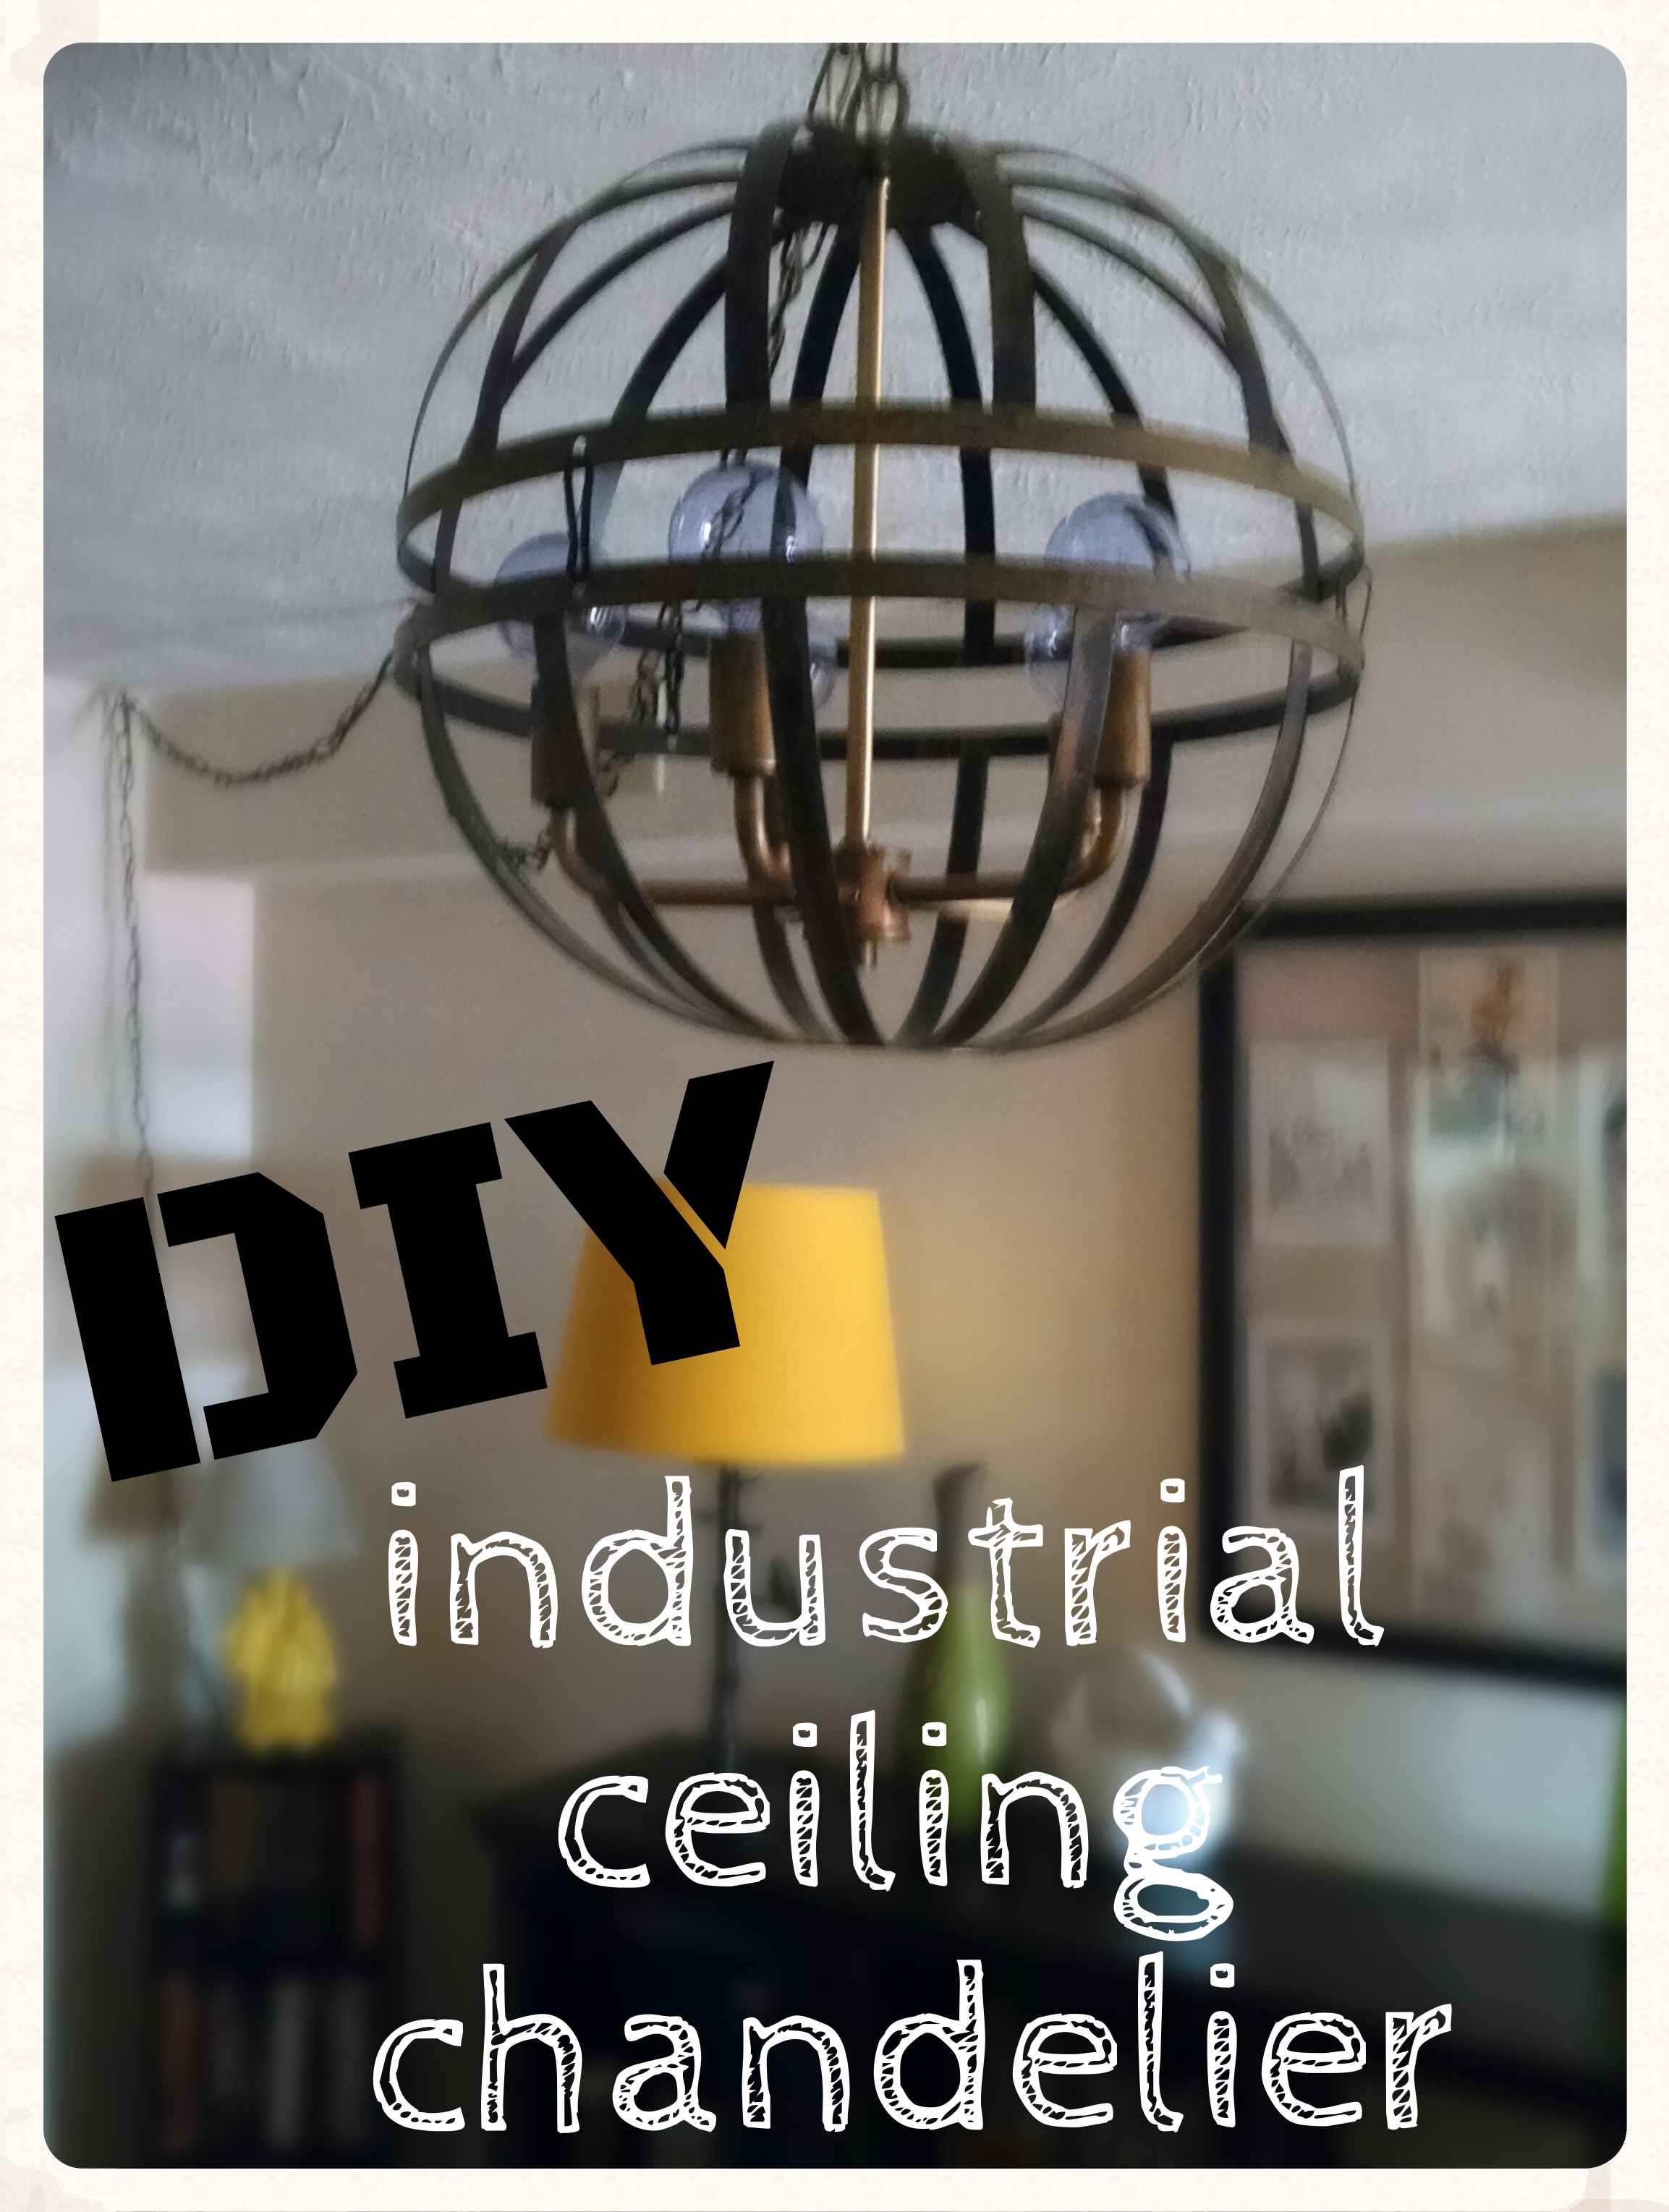
I went on a hunt to my local ReStore and found this amazingly hideous ceiling lamp. Actually, take away the huge (and surprisingly heavy) glass shade and you have this awesomely industrial light fixture.

Other stuff you need:
-pliers
-a drill (and safety goggles)
-cool sphere light bulbs
-a ceiling lamp kit (One of my issues was that I'm not replacing an existing ceiling light fixture- there just isn't one. And I really don't want to go through the ordeal of getting one mounted. Especially because some day in the very distant future we will move and I'm taking this baby with me!)
-two flower baskets (I was thinking about buying an old lamp shade and doing something along these lines, but one of my girls (with a fantastic eye) spotted these baskets and I really like how putting the two together makes it so globe-like. )
step 2: deconstruct the lamp (aka unscrew the top loop and take off the shade) and remove the chain with pliers.

step 3: drill a hole in the top of one of the baskets
I looooove any project that requires the use of my drill. I may or may not rev it a million times before starting.

I stopped taking pictures of each step at this point because it started to feel like I'm insulting everyone's intelligence. Of people I may or may not know. Over the internet. How rude.
step 4: put the bare light fixture into the new hole and screw the top piece back on and attach the bottom basket (I just used the chain clips from one of the baskets)
step 6: attach the new chain and thread the lamp chords through the chain. Add the new cord to the chain and then wire the new and old cords together. I seriously know nothing about this stuff, but it was as simple as twisting two pieces of wire together and covering with electrical tape. (but you can tell your friends it was super complicated!)
step 7: install swag hooks in the ceiling
step 8: plug in and swag! (and I mean that in both senses of the word. Ok, nope, nevermind, I take it back, too dorky.)

Where is ReStore? I feel a sudden need to visit.
ReplyDeleteWe have a big one near maple and 109th
ReplyDelete