We have a smallish living room which has absolutely no space for our lovely coffee table. So, since we had no space for a coffee table but were also in need of a new tv stand at the same time, we used the table as a temporary place-holder until we found a new tv stand. I think we all know what happened next. We never bought a tv stand. For like 3 years. Mostly because I think they are really boring unless you spend 300 plus dollars, and I just didn't ever think it was worth it.
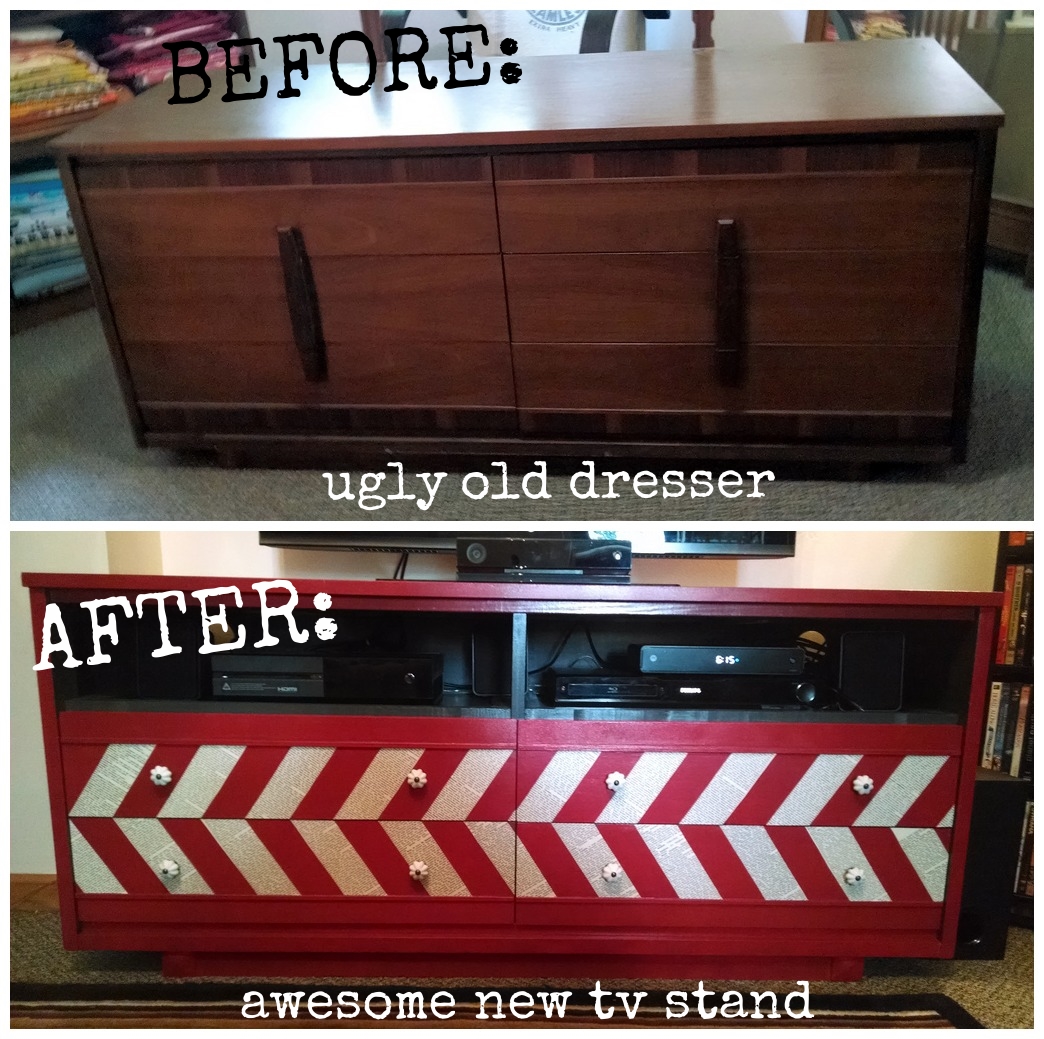
Witness the boring boringness of boring.
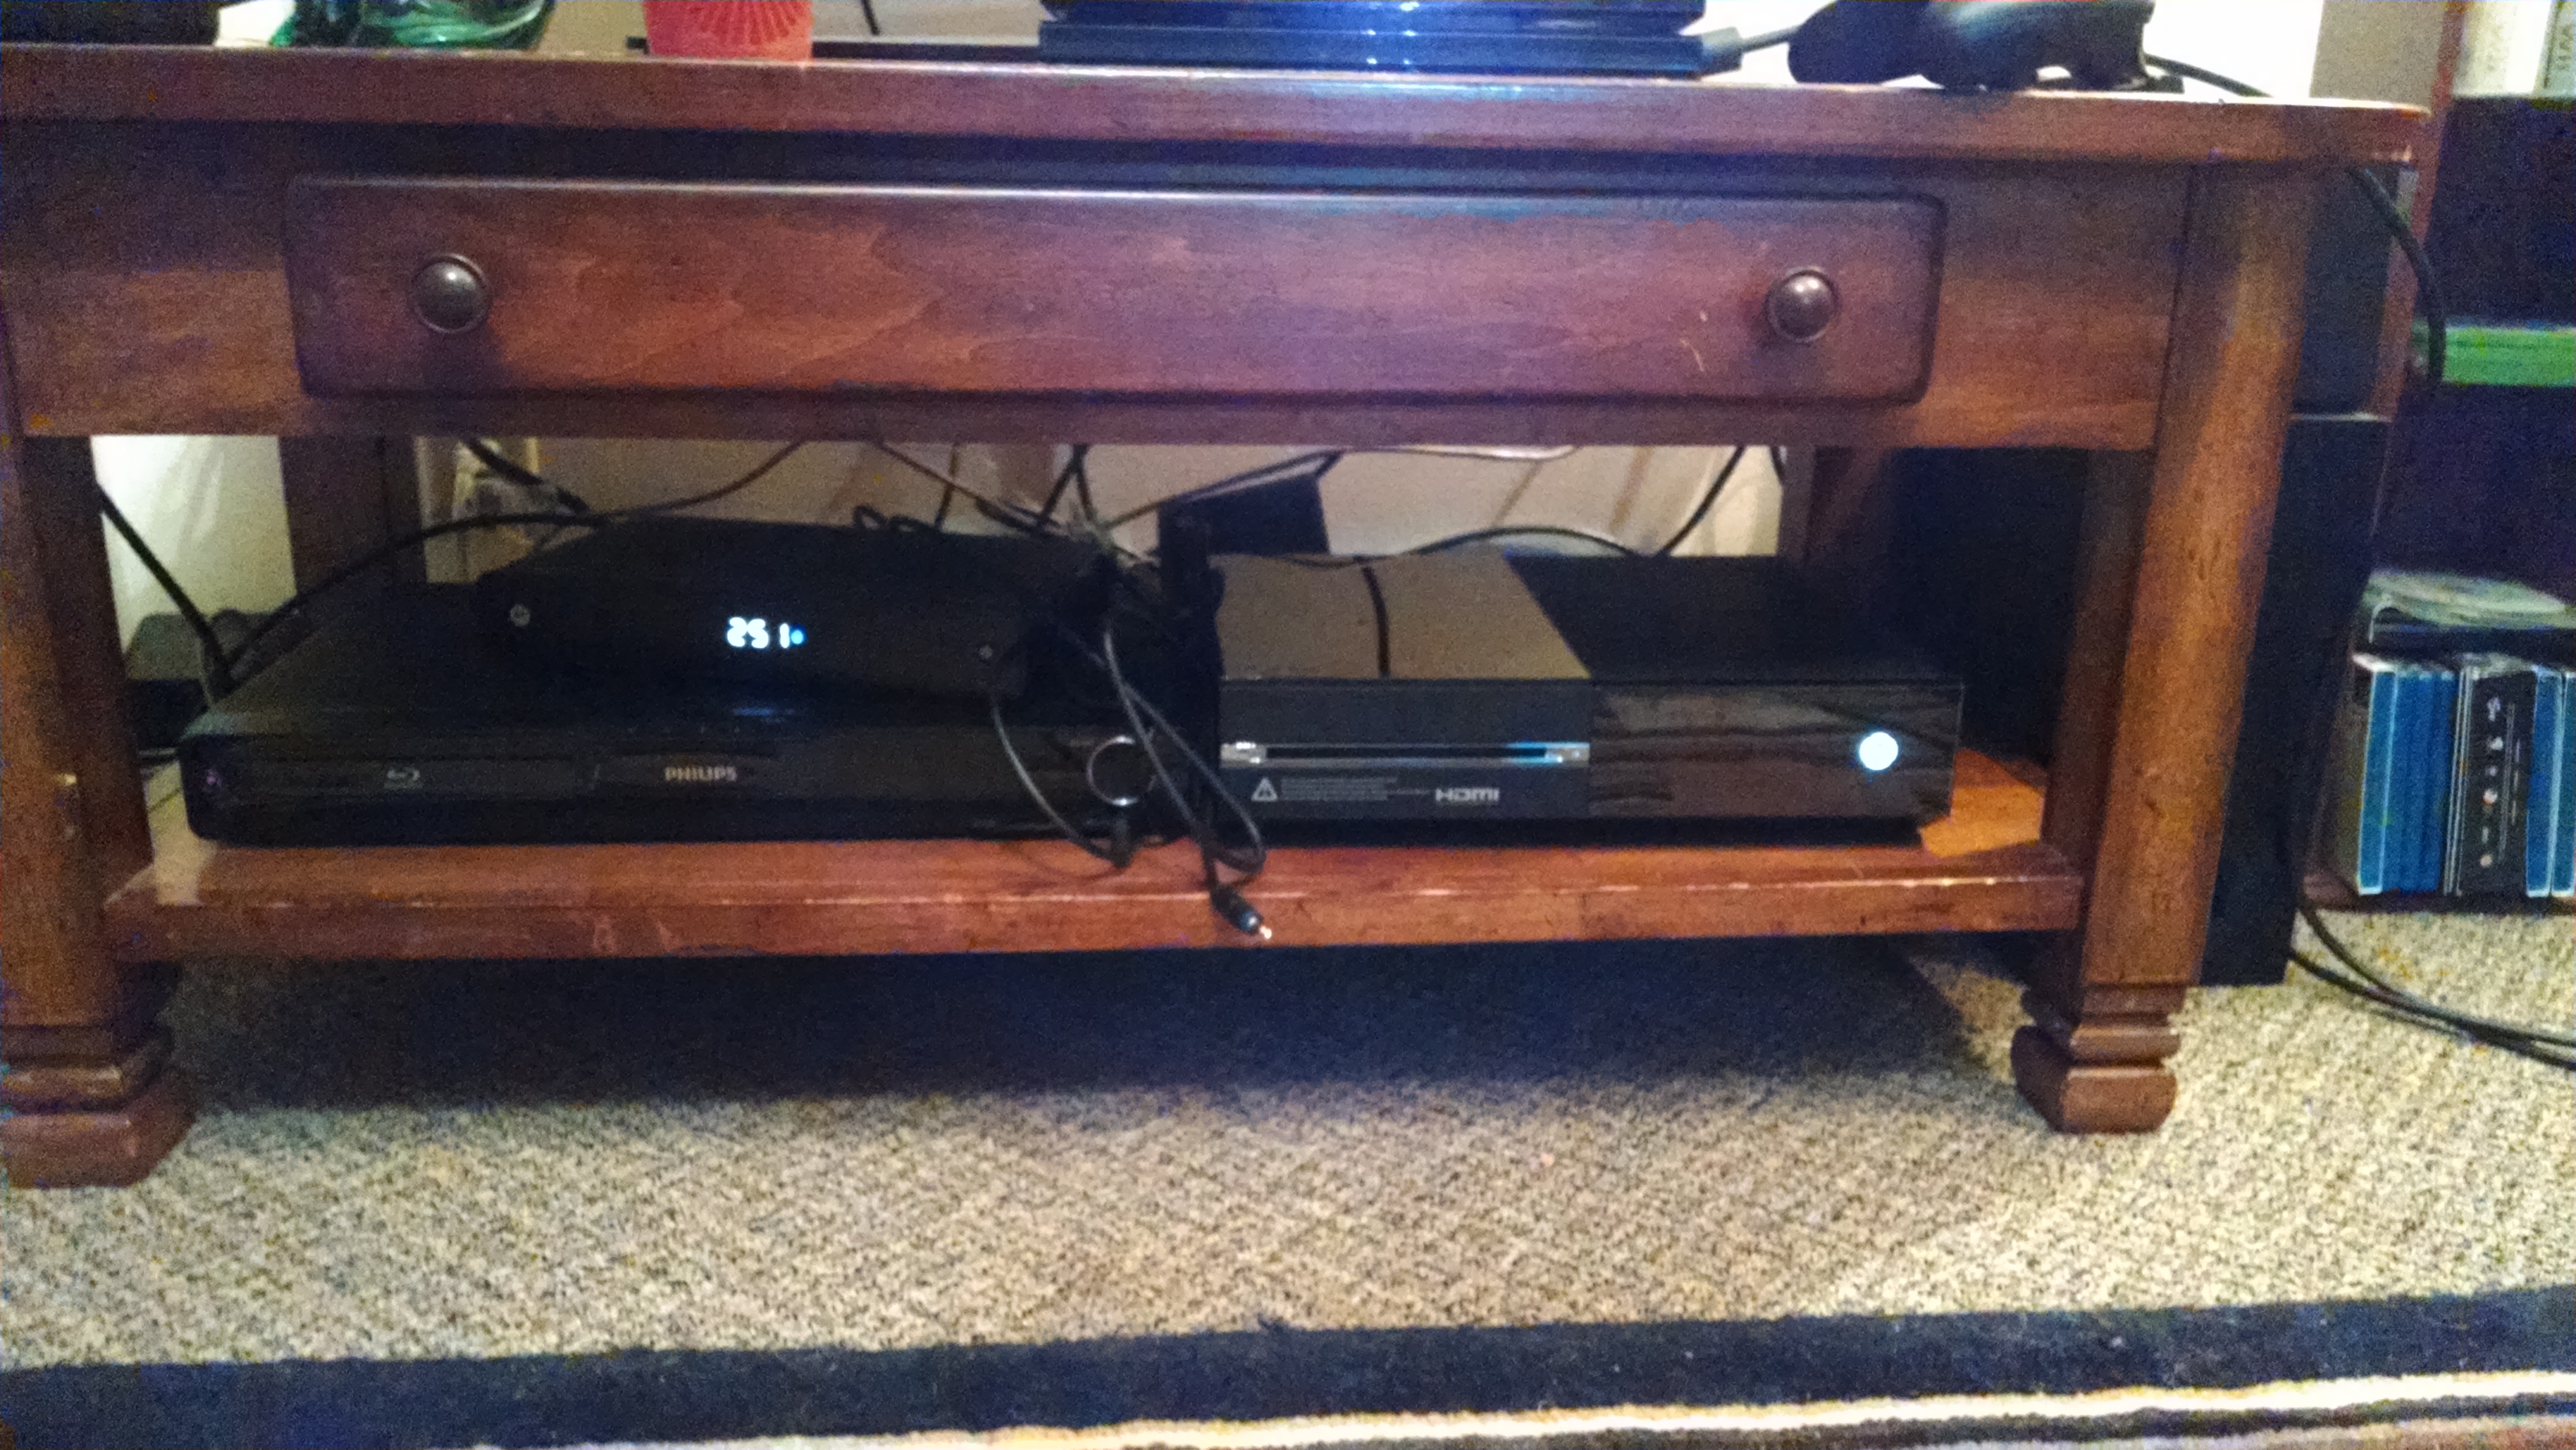
Recently I was bitten by the we-need-a-real-tv-stand bug (I mean, who hasn't been bitten by that thing, right?!) I mean look at this mess. Cords everywhere. (Side note confession: my first instinct is to always spell it "c-h-o-r-d." Music major problems amIright?) And so much dust! And it's so small and cluttered! Yikes.
Witness the awful awfulness. For the sake of full disclosure.
I immediately had visions of a nice, refinished old dresser. I figured it wouldn't be too hard, but I quickly found that the biggest problem was finding something with very specific dimensions because it needs to sit next to that small wall, almost in the corner, but not blocking the bookshelf. Too many restrictions! So I started carrying around a tape measure with me.
I finally found the perfect dresser for $40! I really lucked out. Mostly because I was so excited that it was the right size that I didn't check the condition of the dresser. I mean, I could have gotten it home and found out that all the drawers were glued shut. Or found out that one of the sides had water damage.....which it did. But I was lucky and it wasn't bad at all. The water only ruined the finish, which I was covering anyway. So yay! It also had ridiculously unstable legs, but I took those babies off first thing. I didn't even get a photo of them. (but you can see the big mirror it came with. I have no idea what I'm going to do with that thing, but it seems like a waste to just throw it out just yet. And I removed the mounting hardware from the dresser, so I have that too.)

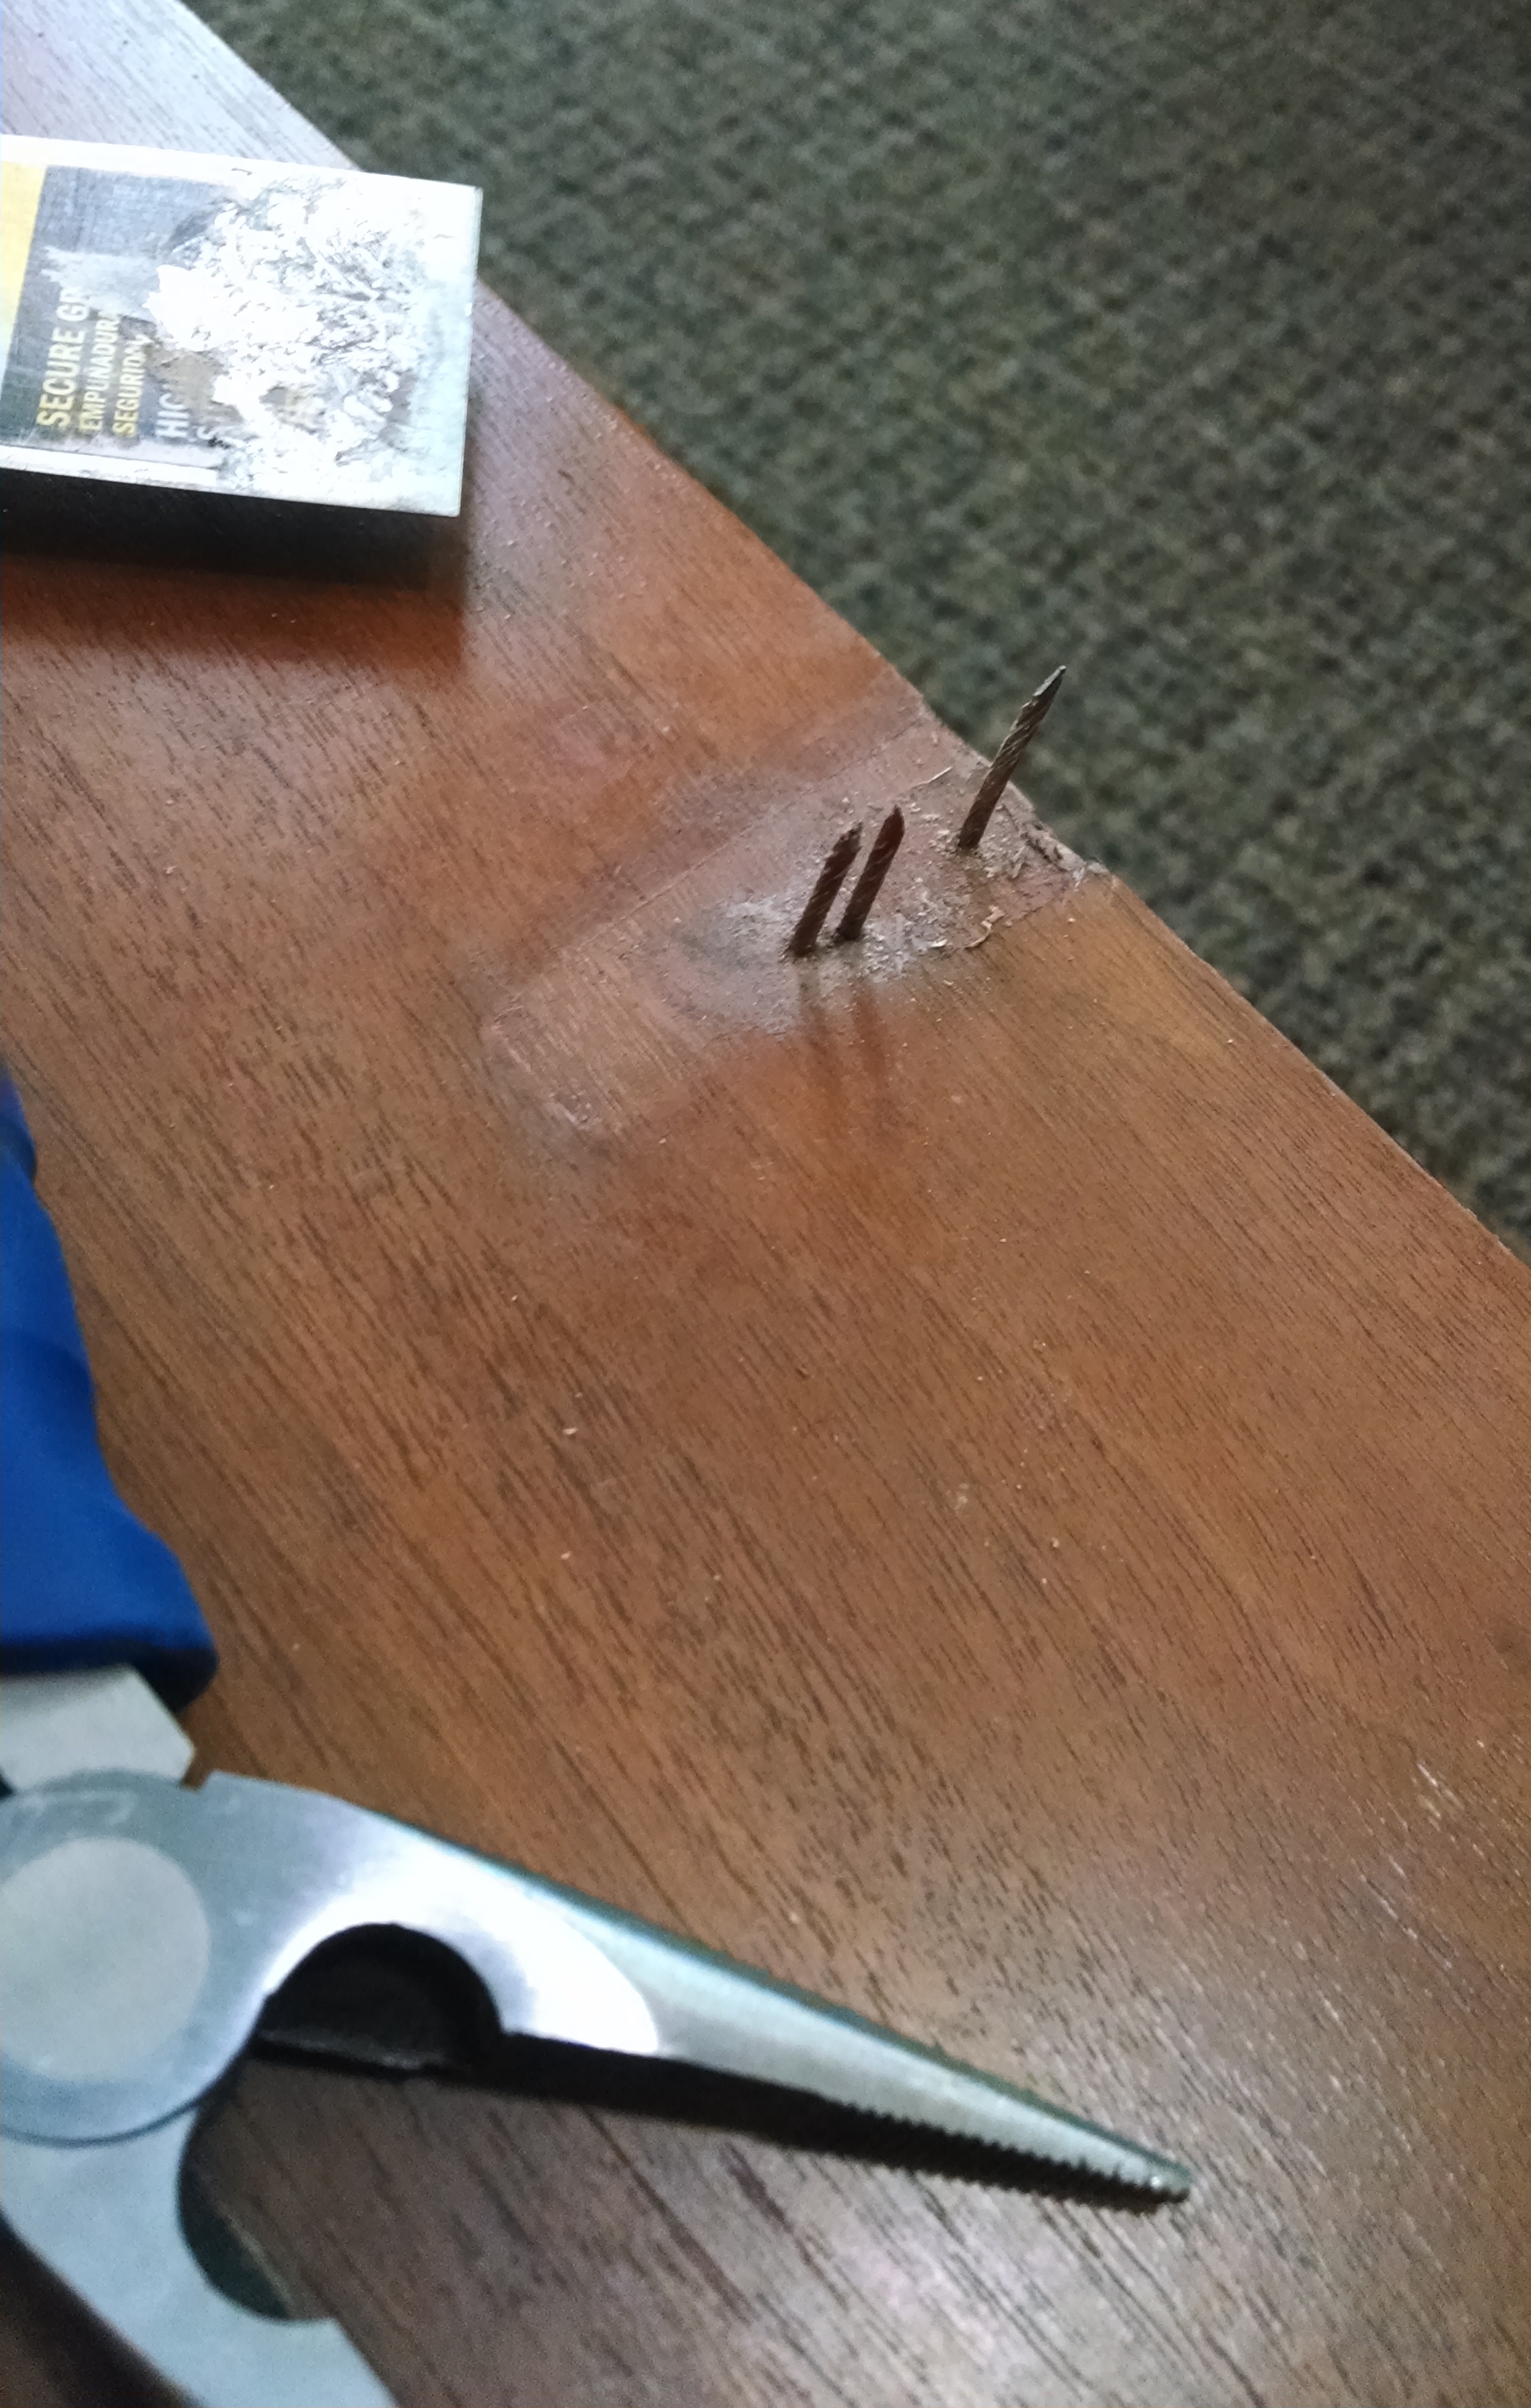
Upon closer inspection (which didn't happen until I bought it, took it home, and unloaded it) I found that the drawer handles (which were awful) were actually nailed in. NOT screwed in. And NOT easily removed. But with a little elbow grease I wriggled those babies off and filled in the holes with a little wood filler. Like they never existed.
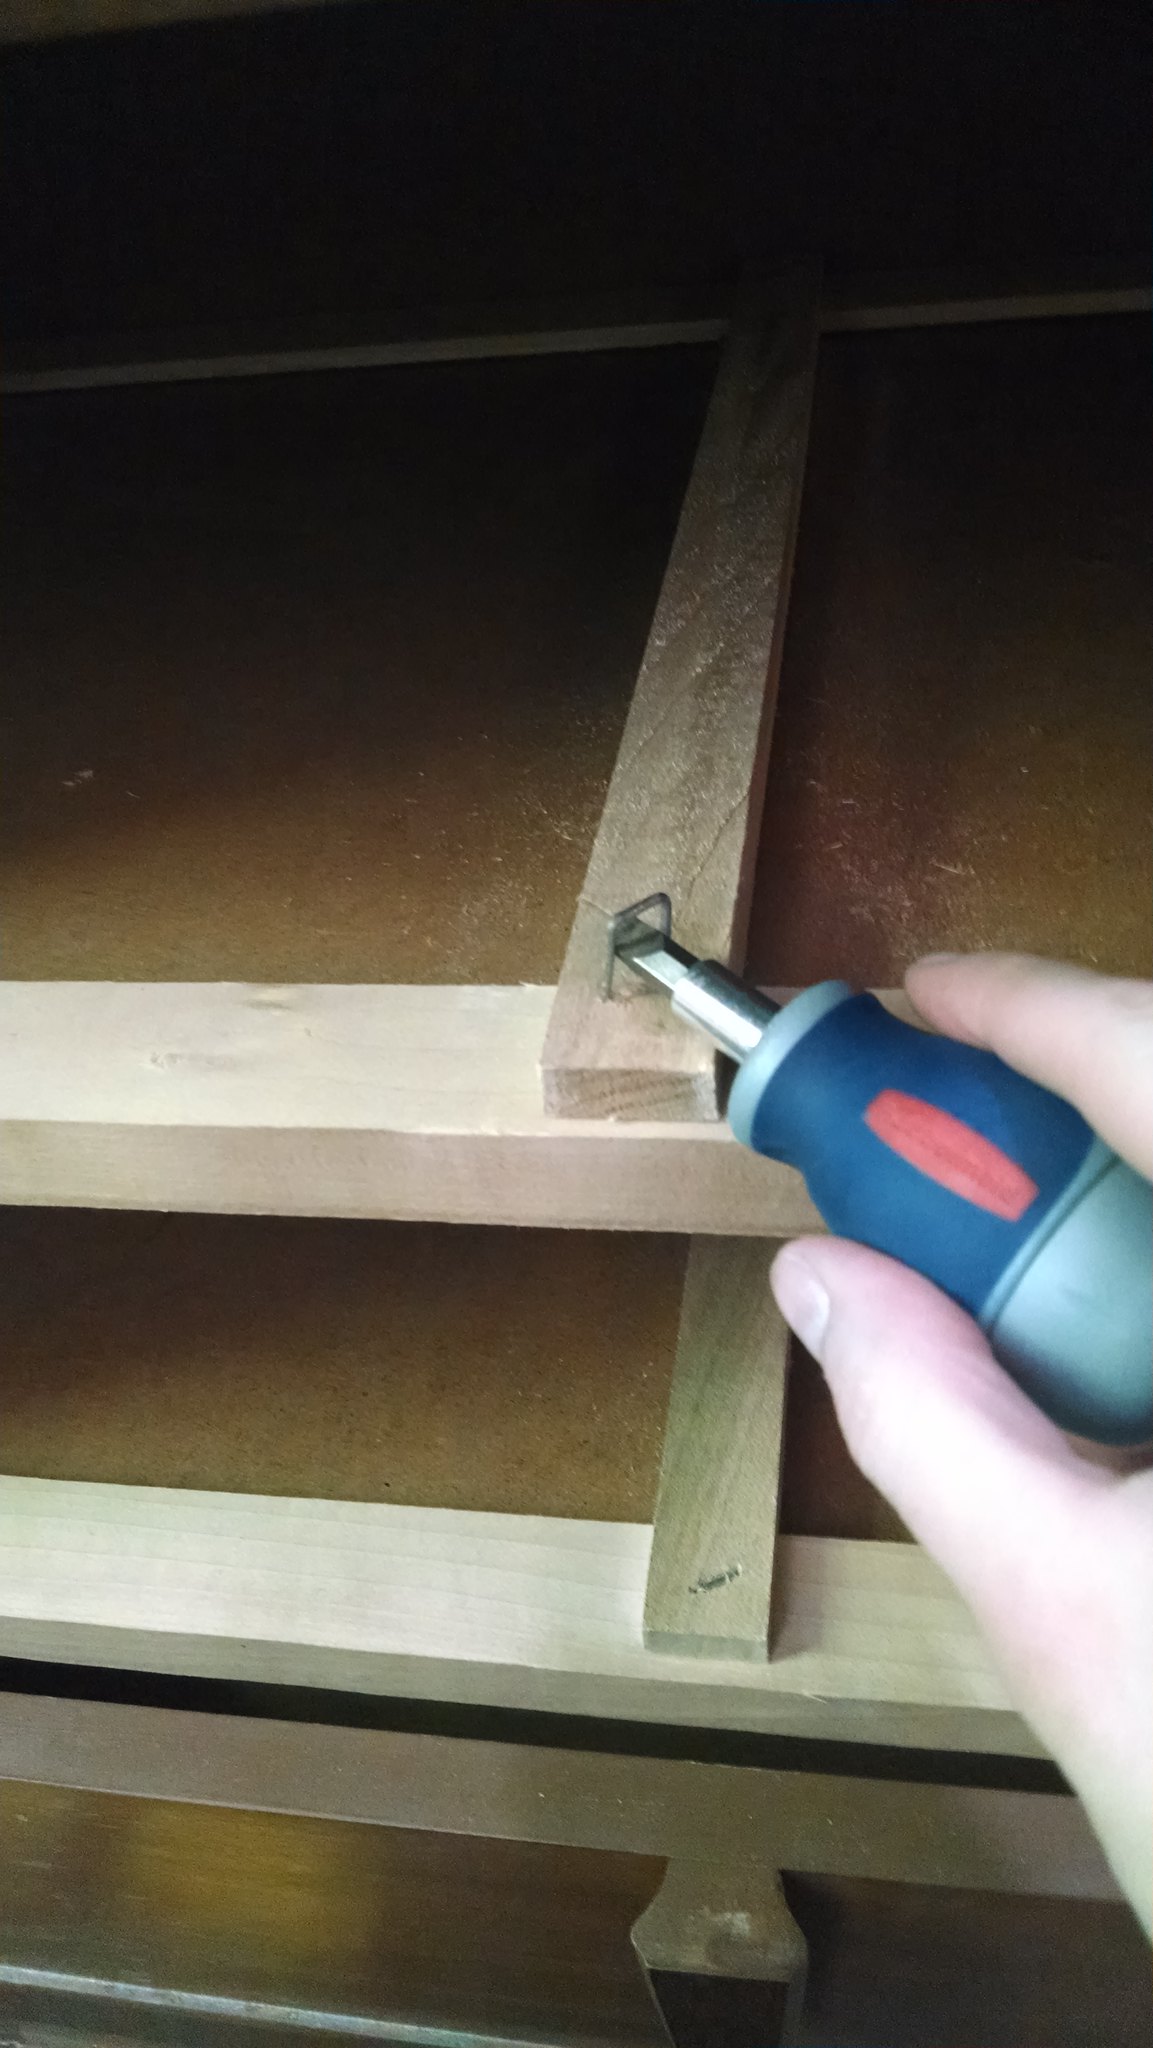
Since it was going to need space for all our tv stuff I planned to remove the top drawers and paint the whole inside with some of the leftover charcoal-colored paint I used to paint our door. And I lucked out again because instead of having to make-shift a shelf under where the drawers were, this dresser was old enough that it was already built in! I don't know if any body else has noticed, but most dressers don't have that any more, which means that you can't usually just remove drawers and replace them with cute new baskets. (Or in my case, you can't put too many socks in a lower drawer or they will block the upper drawer form closing all the way.)

So all I had to do then was remove the drawer tracks. They came off super easy, which is ironic since the drawer handles were like cemented and nailed down. Seriously. Maybe my muscles were all strong from using a hammer and pliers and putty knife and screwdriver repeatedly to get those handles off, but just a little flip of the wrist with my stubby little screw driver and they were gone.
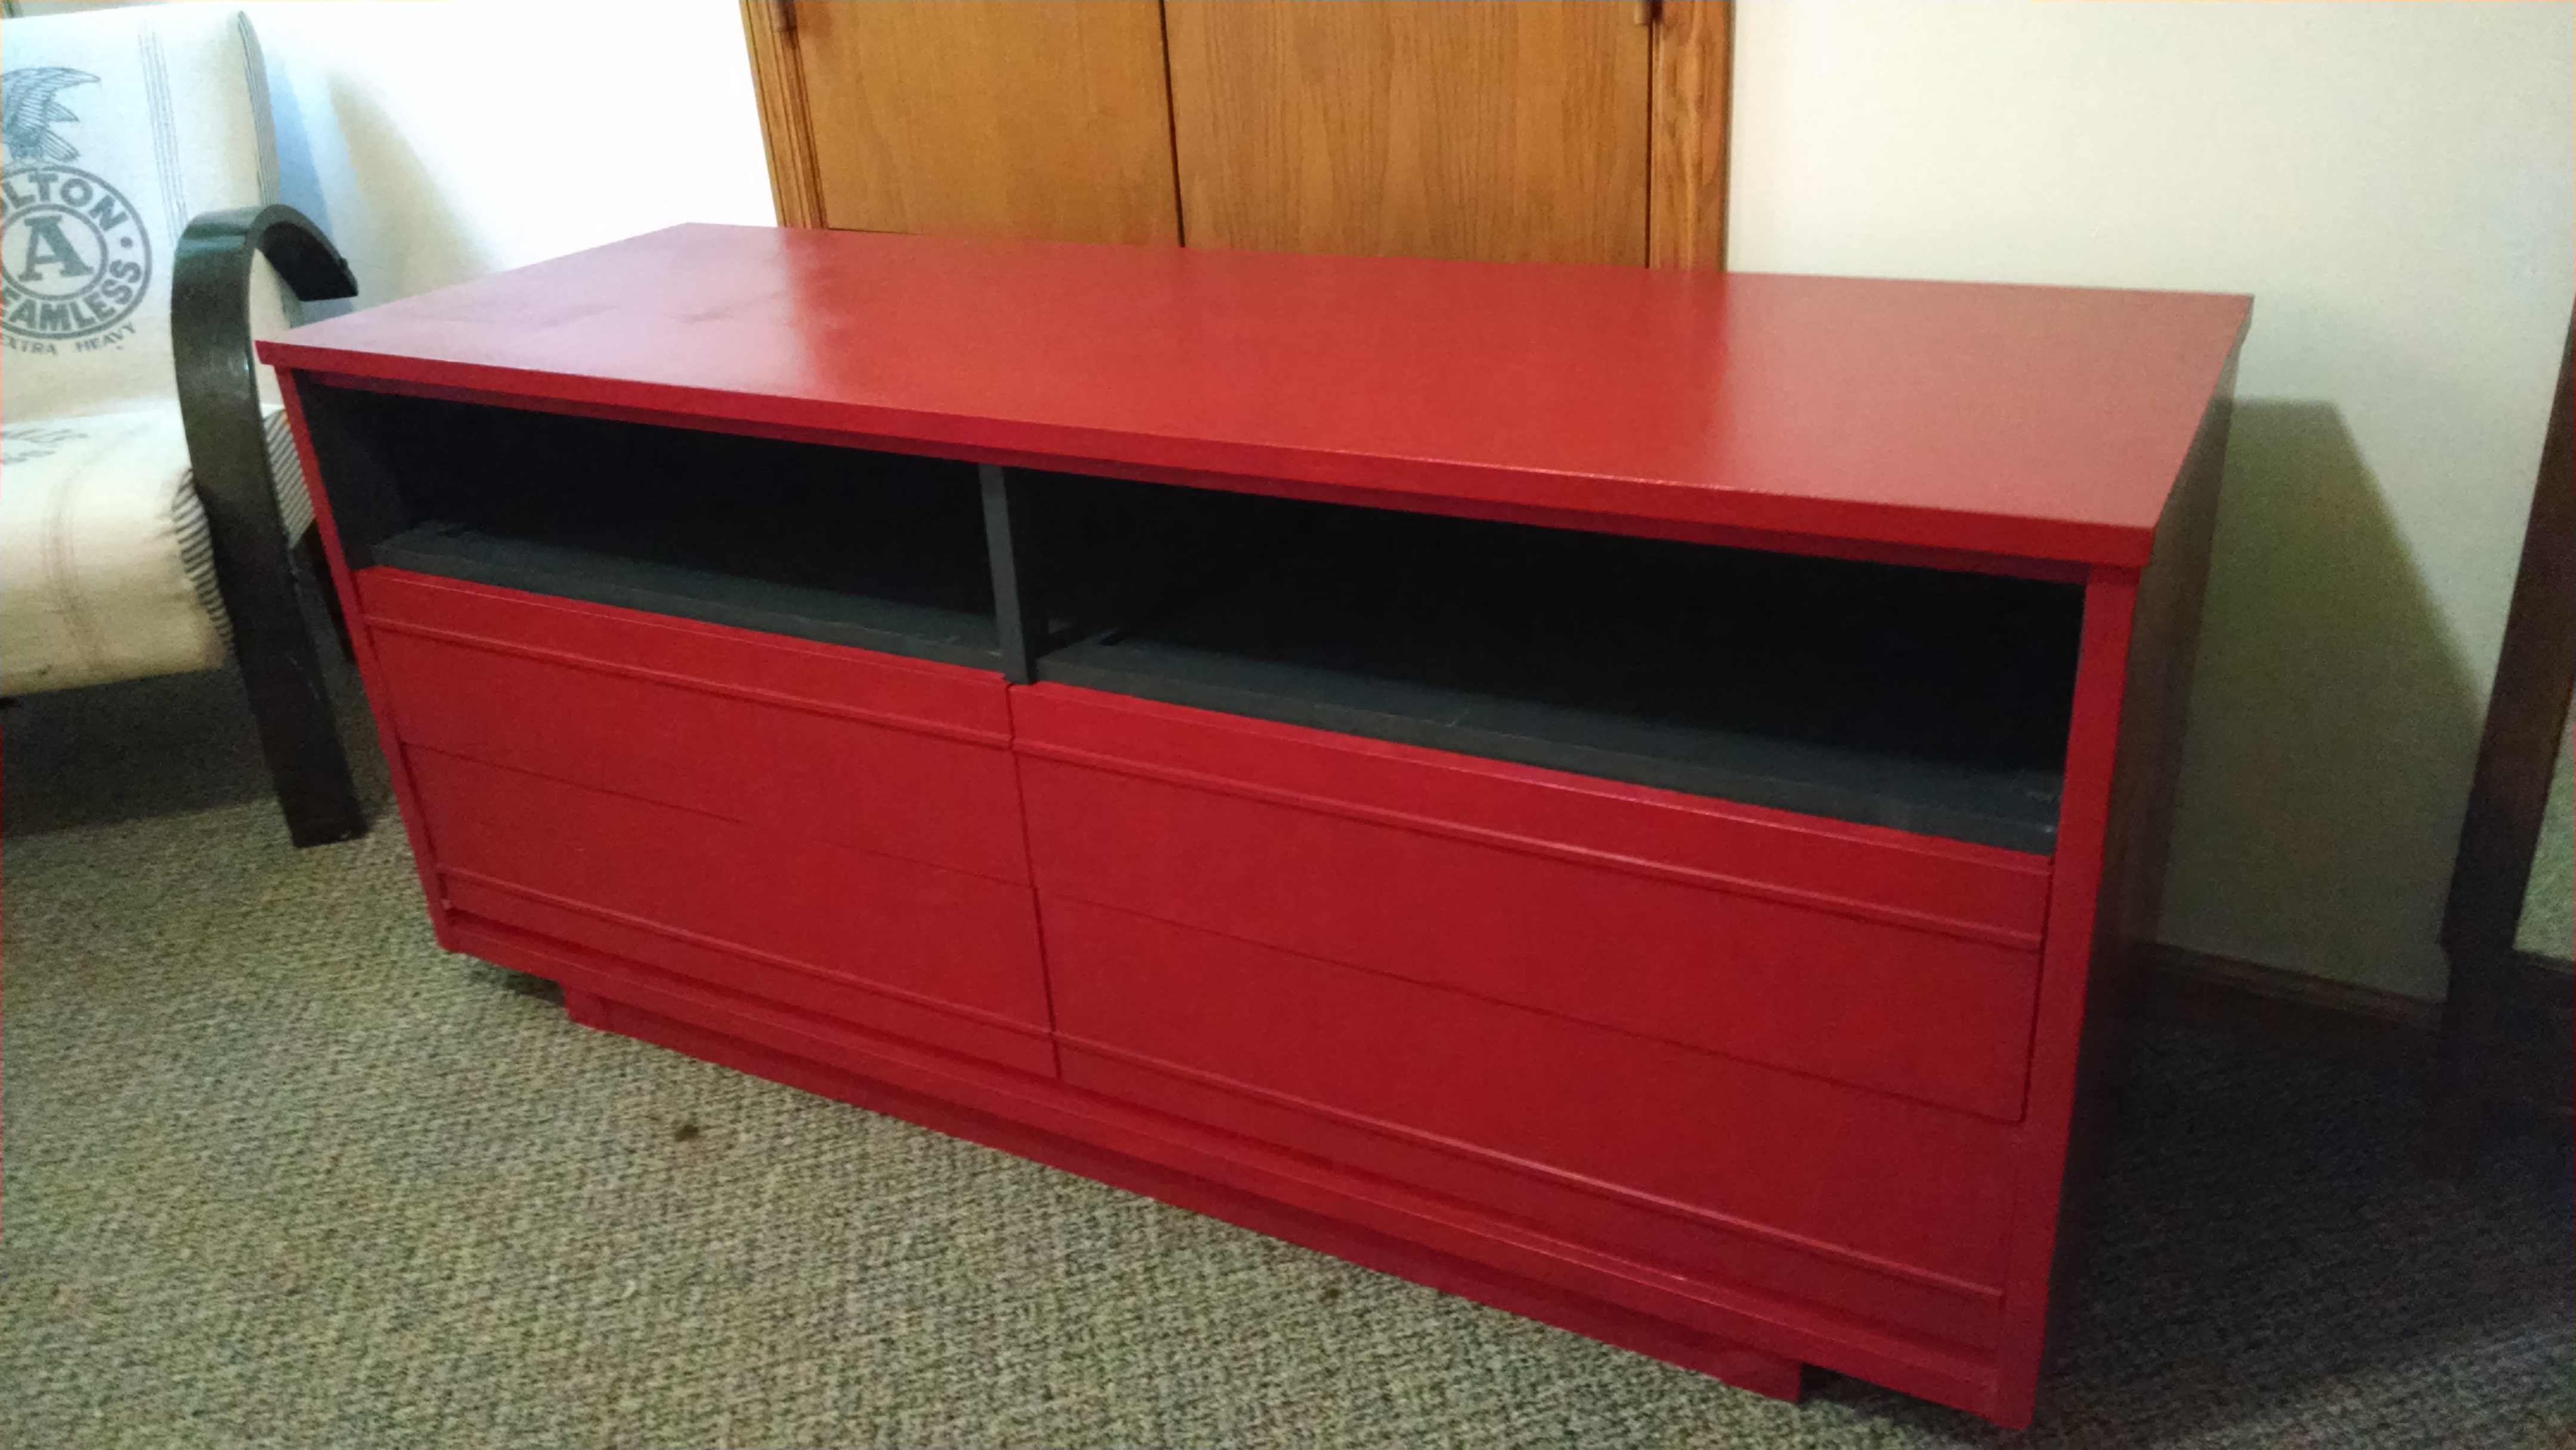
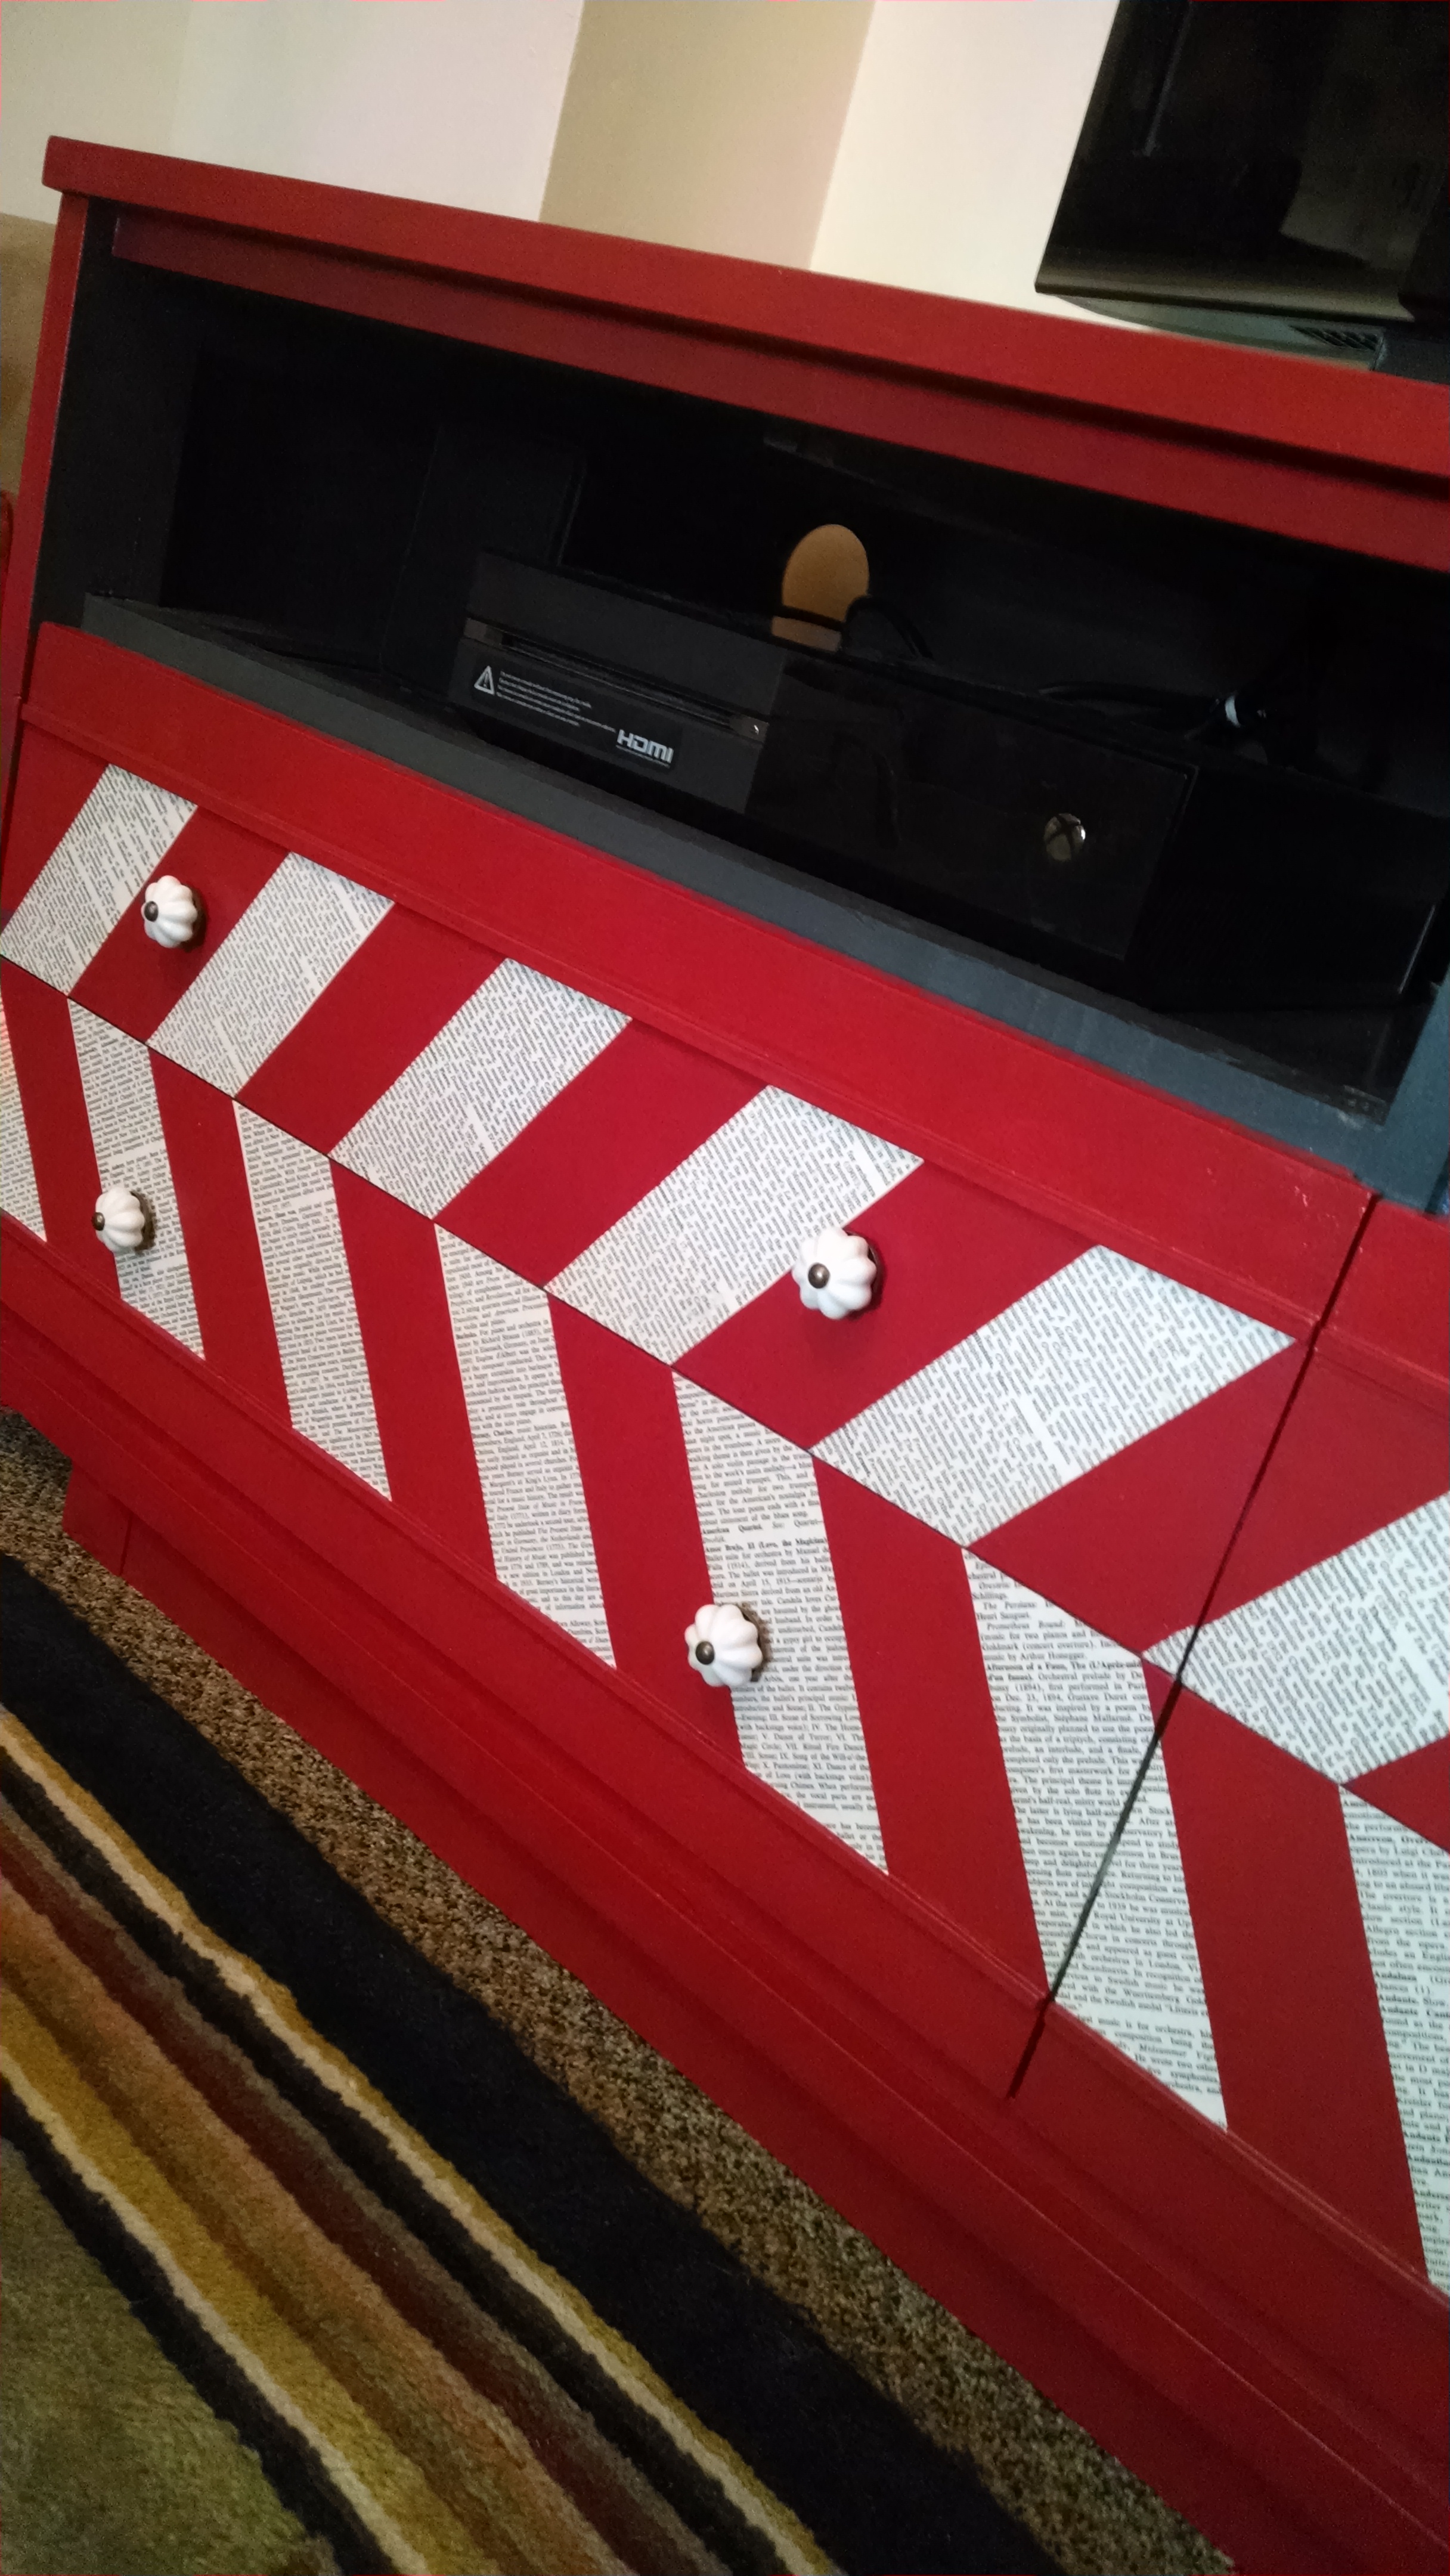
I painted the rest of it red. I won't go into the problems I had with the paint. Let's just say I won't be buying Valspar brand from Lowe's for my next projects. (Seriously.) But after it was finished it looked so boring. And still pretty bright.
So I used an old Encyclopedia of Concert Music and some Mod Podge and did a herringbone design on the drawers and finished it all off with some old porcelain drawer pulls. I also drilled a 2" hole on each side for the cords (chords) to go through.
I painted the inside of the drawers too. (ok, well the girls painted them. They always want to help out, but painting my living room furniture requires a lot of trust, so the inside of the drawers it is!)
BA BAM! I love how it turned out!
I was still worried the red would still be too bright but I think it really pulls the whole living room together. Also, two words: cord (chord) management.